D850
Silent Photography Ⅰ, the Basics: Taking Photos Silently
Narrated by YAMANO Yasuteru
The
D850’s silent photography feature not only allows photographs
to be taken silently and without vibration, but also offers additional benefits such
as reducing wear by not engaging the mirror, mechanical shutter, or other mechanical
elements. This feature, which is predicated on taking pictures in live view, can be
used effectively in a variety of situations, and I recommend that you acquaint yourself
with how it can be best applied in pursuit of your goals.
Enabling Silent Photography
Enabling Silent Photography
from the Photo Shooting Menu

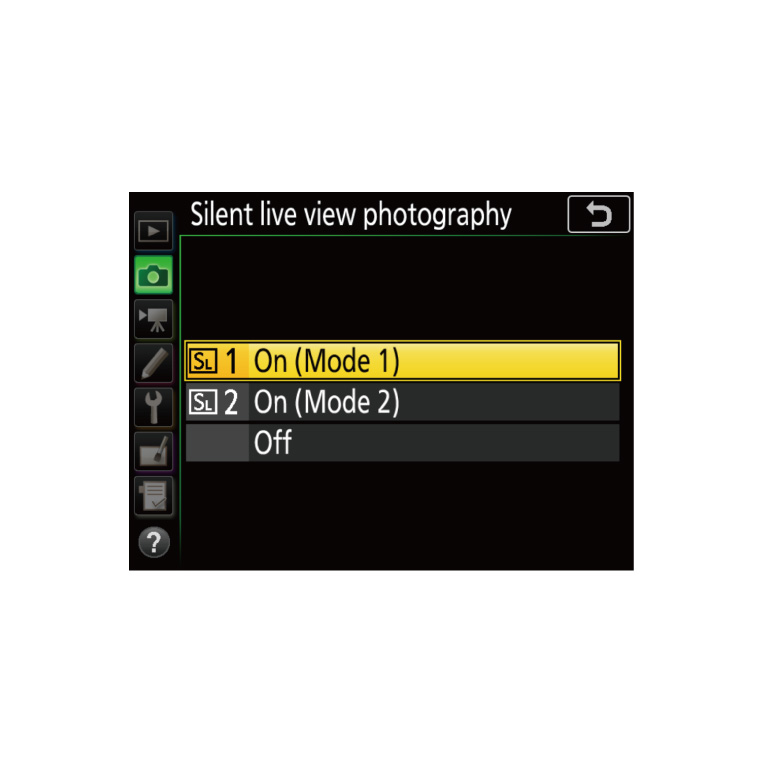
01. Press the MENU button and select Silent live view photography
in the photo shooting menu.
02. Select On (Mode 1) or On
(Mode 2).
Enabling
Silent Photography During Live View Photography
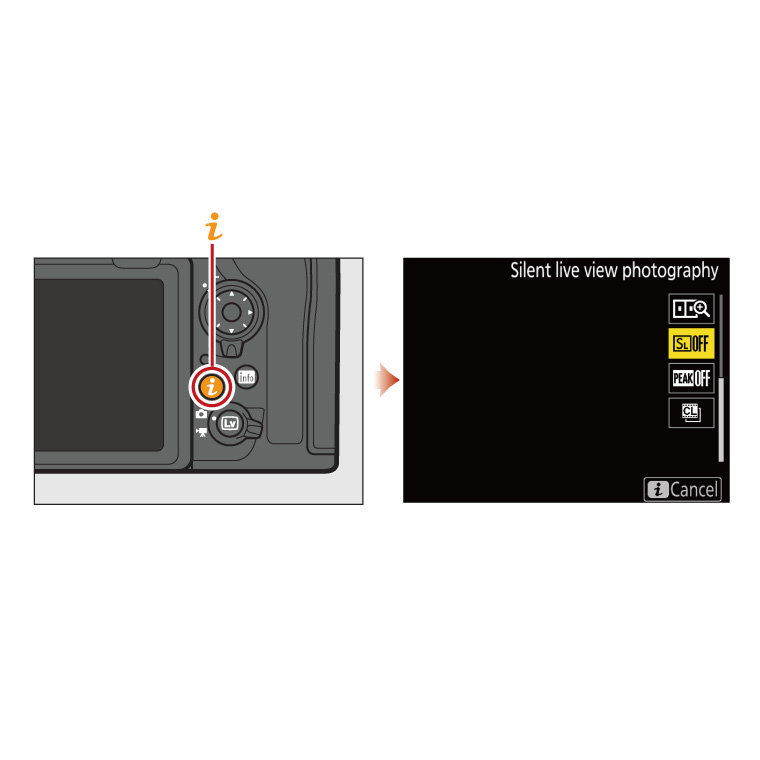

01. Press the ![]() button during live view photography.
button during live view photography.
02. Select Silent live view
photography in the menu that appears on the right side of the display.
03. Highlight 1 or 2.
04. Press the OK
button or tap OK.
“Mode
1” Versus “Mode 2”
There are two options
for silent photography: “Mode 1” and “Mode
2”. The differences between the two are not limited to pixel count
but also include burst performance, rolling shutter effect, image area, and image
quality, as summarized in the table.
| Mode 1 | Mode 2 | |
| Effective pixels | 45.75 million | 8.64 million |
| Frame advance rate (approx.) | CH: 6 fps | CH: 30 fps (max. 3 s) |
| Rolling shutter effect | Mode 1>Mode 2 | |
| AF/AE | Fixed at values for 1st shot | |
| Other | ----- | Image area fixed at DX, Image size at 3600 × 2400, Image quality at JPEG Normal★ |
Although you’ll want Mode 1 when you need an effective pixel
count of 45.75 million, Mode 2 is an option if 8.64 million pixels
are enough. There are several additional factors that may influence your decision,
such as your choice of subject and how the image will be used; these are summarized
below.
“Rolling
Shutter” Effect
Silent photography is in principle prone
to a noticeable rolling shutter effect that causes distortion in photos that include
objects moving through the frame. The amount of distortion is less in Mode
2 than in Mode 1, making Mode 2 a relatively
safe choice for subjects that move across the frame. Depending on your subject, you
may notice no distortion in Mode 1, while on the other hand there
may be noticeable distortion in Mode 2. Because the effect depends
not only on the subject’s actual speed but also on the speed of its movement
through the frame, factors that cannot be easily summarized in table, I suggest that
you take test shots and check the results.
Image
Area
Mode 2 offers only the DX image area,
making it a good choice when you want to increase the apparent focal length but limiting
you to Mode 1 in situations that require the FX image area.
Image Quality
Photos taken in Mode 2 are recorded in JPEG
Normal★ format. Choose Mode 1 when you want to record images
in other formats, such as NEF (RAW).
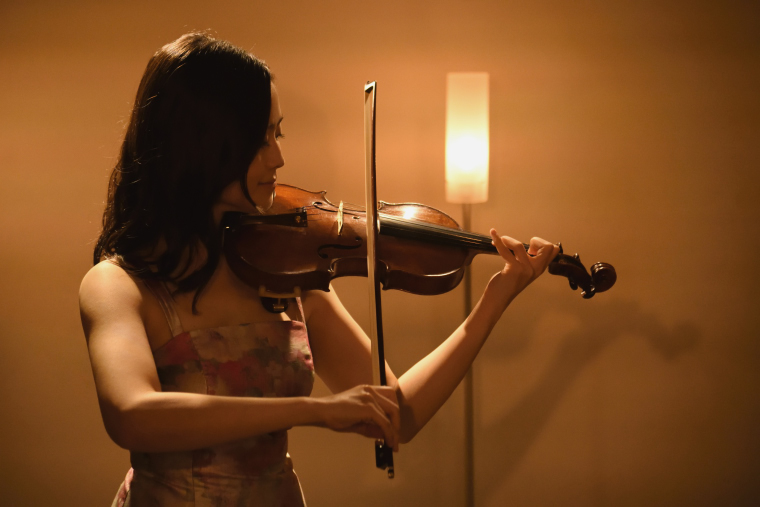
I default to Mode 1 when photographing stage performances or concerts
where the subjects are comparatively slow-moving and the difficult lighting conditions
require adjustments to contrast and color, as I prefer to shoot in NEF (RAW) format
in these situations, while when photographing sports and other comparatively fast-moving
subjects, I default to Mode 2 for the 30 fps frame advance rate
and to keep the rolling shutter effect to a minimum; the choice, however, is one that
must be made on the spot and cannot easily be boiled down to a few factors. Given
this background, it’d probably be best if you were to try it out for yourself
and decide based on your own goals and tolerances.
Keeping Camera Sounds to a Minimum

Disabling the Live View Timer
Silent photography is available in live view. It follows that the mechanisms
such as the mirror and shutter are not required, as you can start silent photography
from live view and return to live view when shooting ends. This is an extremely useful
feature for concerts and in other situations in which you do not want the camera to
make noise, but there’s one precaution you’ll want to take in advance,
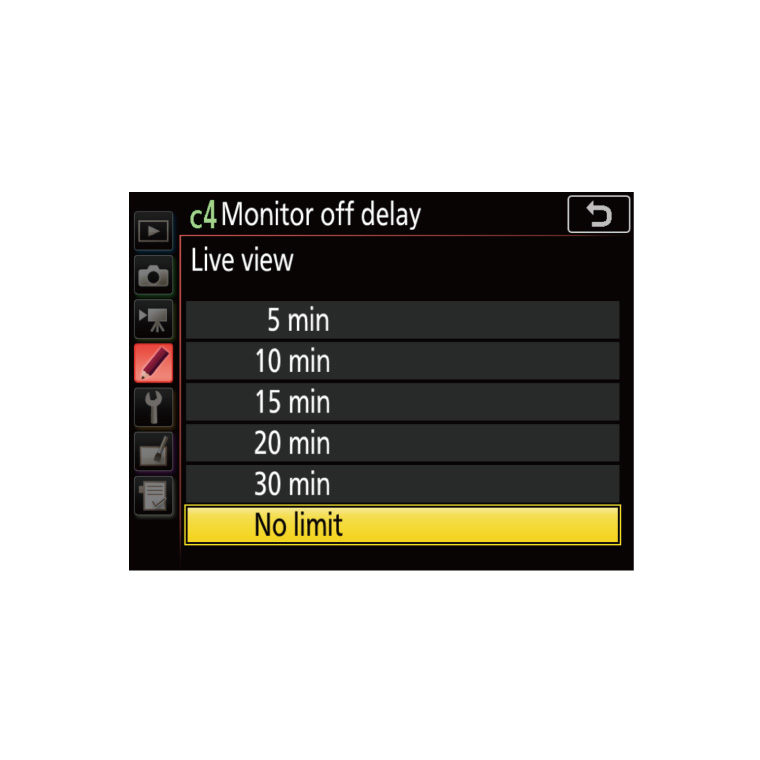
namely setting the monitor-off delay to No limit.
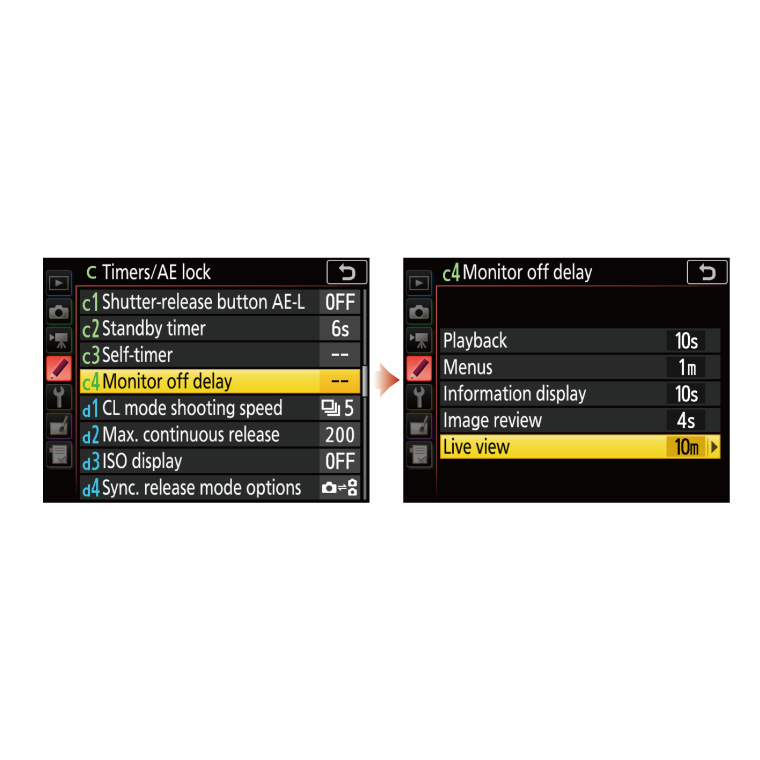
The
camera has a variety of timers to limit unnecessary demand on the battery, but the
one that affects silent photography is Live view, which defaults
to 10 minutes. While this is not a concern if silent photography can be completed
within 10 minutes, in situations where photography might continue longer it may be
safer to choose No limit as described below to prevent live view
ending and the mirror dropping unexpectedly. This ensures that as long as the battery
has sufficient charge, the mirror will not move after shooting until the Lv button
is pressed.
Locking the Aperture Mechanism
Even during silent photography, if you bring your ear close to the camera
you’ll hear the aperture mechanism in operation every time the shutter is released
in programmed auto or shutter-priority auto mode. Although in my opinion such sounds
are rarely a problem, they can be eliminated if desired by selecting aperture-priority
auto or manual so that once you start live view the aperture mechanism will only be
used when you adjust aperture during live view.
How to Not Be a Nuisance
Lights
Out
Many of the situations in which silent photography is desired
include concerts or solemn occasions in which it wouldn’t do to create a disturbance.
In such situations photographers must not only consider the noise produced by the
camera but must also be aware of the annoyance potentially caused by the use of live
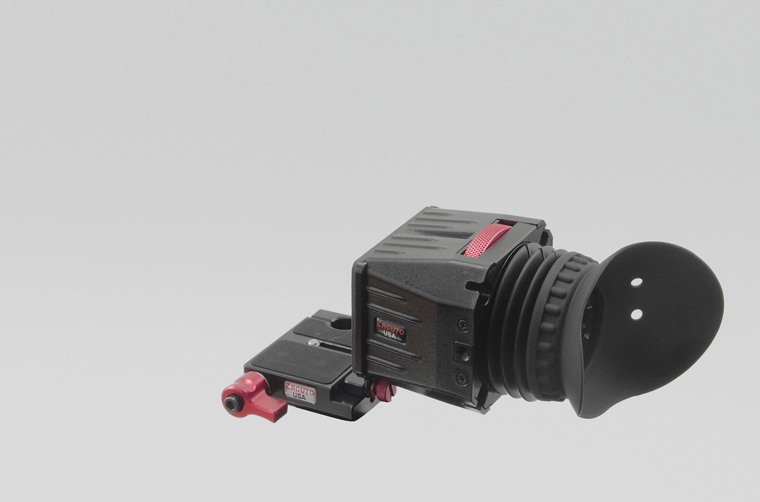
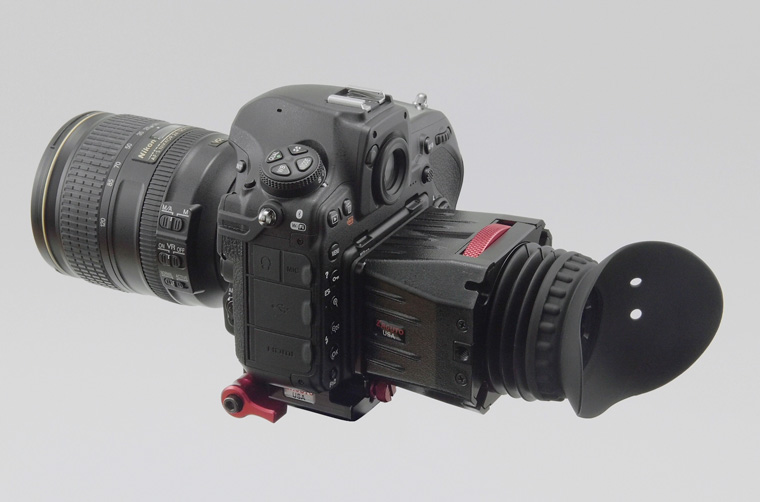
view display required during live view. You might consider trying a third-party hood
loupe, which can be highly effective in such situations and which in fact may, by
example allowing photographs to be taken at eye level, make the camera easier to use.
This chapter continues in “Silent Photography Ⅱ: Preventing Vibration in Landscape Shots”.
Tips and Tricks > Silent Photography Ⅱ: Preventing Vibration in Landscape Shots
Profile of YAMANO Yasuteru
Photographer and researcher of photographic techniques. Born in 1954 in Kagawa. Has been publishing photos and articles in astronomical journals since the 1970s. Has published many digital photos and articles relating to digital astronomical photography since the year 2000. Member of the Society of Photography and Imaging of Japan (SPIJ).
Violinist courtesy of KYO-GEI INTERNATIONAL LLC.
ZACUTO Z-Finder Pro courtesy of Nobby Tech. Ltd.
SLIK Light carbon E83 FA courtesy of Kenko Tokina Co., Ltd.