Focus Shift Ⅱ: Focus Stacking
Narration: YAMANO Yasuteru
Other Settings for Focus Shift Photography
You’ll want to disable any features that could interfere with the many operations
the camera must perform during focus shift photography. If focus shift options are
greyed out, or the camera says shooting can’t begin when you go to start focus
shift, check the following settings. Focus shift settings will also be greyed out
and unavailable when no memory card is inserted, so insert a memory card before adjusting
settings.
| Movie live view | Switch to live view photography |
| HDR | Turn HDR off |
| Focus mode | Select AF |
| Interval timer shooting | End interval timer shooting |
| Auto bracketing | Disable auto bracketing |
| Multiple exposure | End multiple exposure shooting |
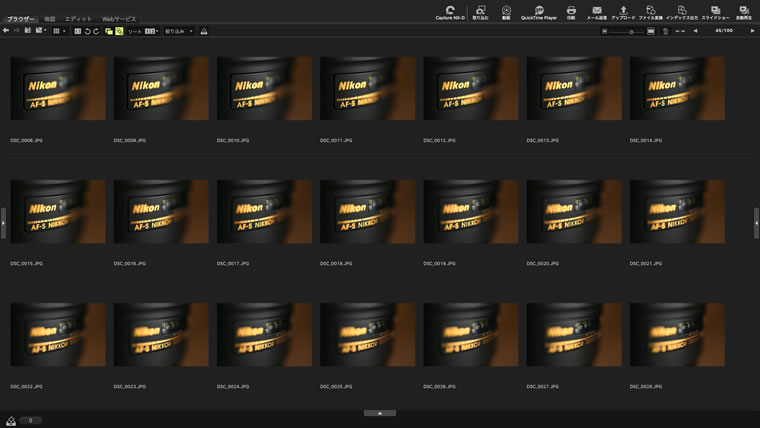
Figure 1: Select the photos you’ll use for focus stacking from
the many shots you took at different focus positions, starting with the closest and
ending with the farthest.
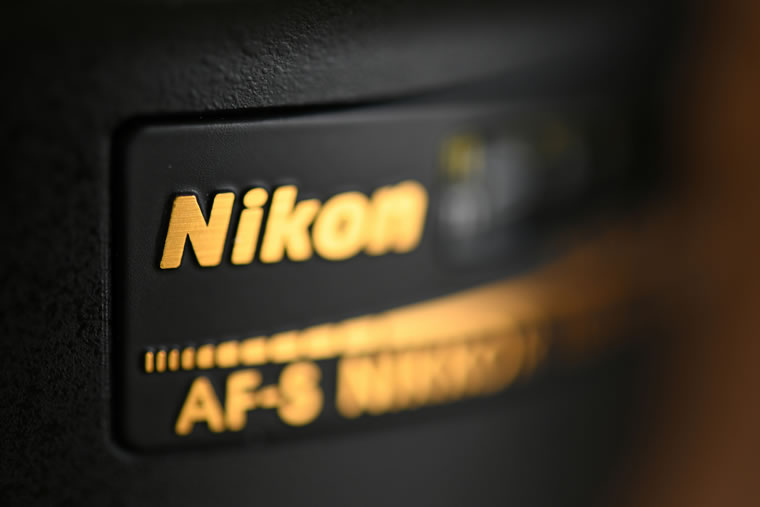
Figure 2: You can see that
each photo has an extremely shallow depth of field (AF‑S Micro NIKKOR 60mm f/2.8G
ED; aperture f/4.8).
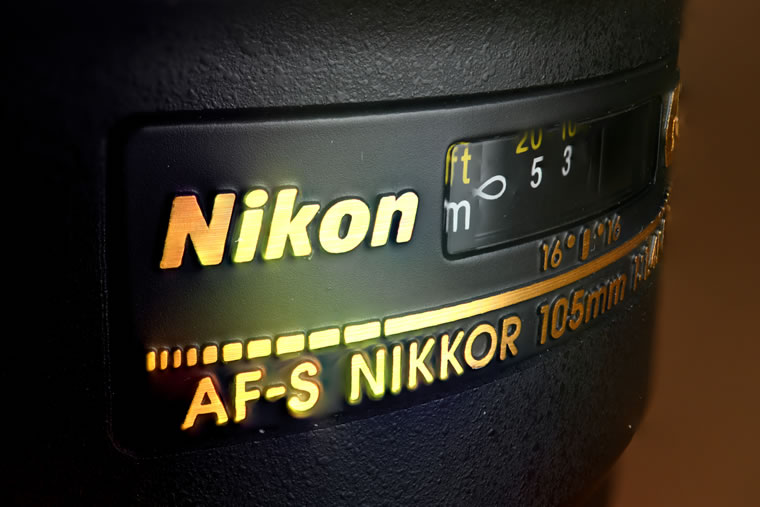
Figure 3: Use focus stacking software to create an image in which
the entire nameplate is in focus.
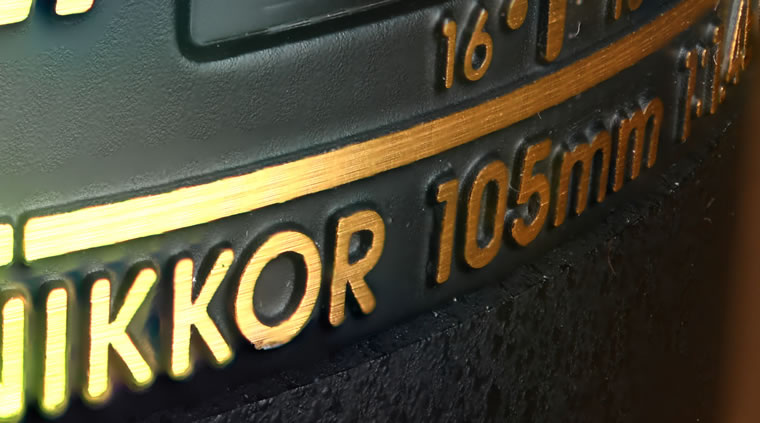
Figure 4: If the focus
step width is too wide, the image will be made up of alternating strips of in-focus
and out-of-focus areas. These however will be largely invisible except when the image
is zoomed in (f/4.9 with a focus step width of 10).
Figure 5: The strips of in- and out-of-focus areas are visible at
four- or eight-hundred percent zoom (f/4.8 with a focus step width of 10).
Focus Stacking
The focus-stacking process begins post-shooting with image selection. Each
sequence will no doubt contain extra photos you took just in case but that were not
shot at focus distances needed for focus stacking. Use software such as ViewNX-i to
view the photos and select the files you want from each sequence.
Focus
stacking is generally performed using Adobe Photoshop or other generic image-processing
software or such dedicated applications as Helicon Focus from Helicon Soft or Zerene
Stacker or Combine ZM from Zerene Systems. To the best of my knowledge, Combine ZM
is currently free while Helicon Focus and Zerene Stacker offer 30-day trial periods,
so feel free to give them a try. The main differences between the applications seem
to be largely processing speed and the accuracy of their focus stacking. Given that
there also seem to be differences in how they handle changes in picture angle during
focus shift photography, or in other words how they handle unwanted areas at the edges
of the images, you may want to check upgrade information and Internet reviews before
choosing a software package.
This tutorial video uses Helicon Focus for
focus stacking. The procedure consists only of selecting files for import and rendering
a focus-stacked image, but depending on the shape of the subject and other factors
the desired results may sometimes not be achieved, in which case you can see if you
can get better results using one of the other rendering methods (A through C).
Tips and Tricks > Focus Shift Ⅰ, the Basics: Stacking Focus
Profile of YAMANO Yasuteru
Photographer and researcher of photographic techniques. Born in 1954 in Kagawa. Has been publishing photos and articles in astronomical journals since the 1970s. Has published many digital photos and articles relating to digital astronomical photography since the year 2000. Member of the Society of Photography and Imaging of Japan (SPIJ).
Model cooperation: KATO Co., Ltd.
Diorama cooperation: atorie-minamo
Equipment cooperation: Kenko Tokina Co., Ltd. SLIK Light carbon E83 FA


