Z 5
Animal-Detection AF: Focusing on the Eyes of Dogs and Cats for Winning Pet Portraits
Photos/Text: Sonoe
Wouldn’t it be great if we could easily get shots of our lovable little cats and doggies? And you can, with attention to how your pet is lit, a little thought to composition, and a few handy tricks. Plus, with proper use of animal-detection AF and other new camera features, each adorable shot will be in perfect focus!
Okay, let’s get our cameras out and start shooting.
Using Animal-Detection AF
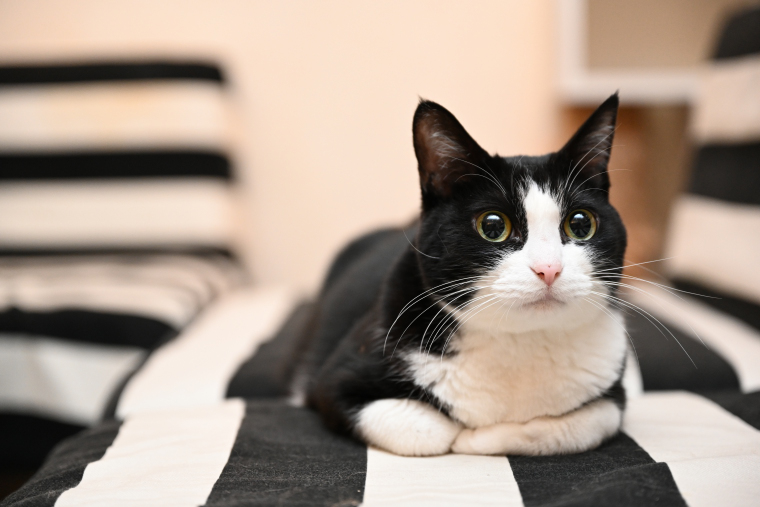
Animal-detection AF delivers crisp focus on the eyes of pets. The camera automatically positions the focus area over your pet’s eyes, leaving you free to compose the shot to your liking and concentrate on capturing fleeting expressions without having to worry about choosing a focus point.

If you’ve updated to the latest version of the camera firmware, we can dive right into settings.
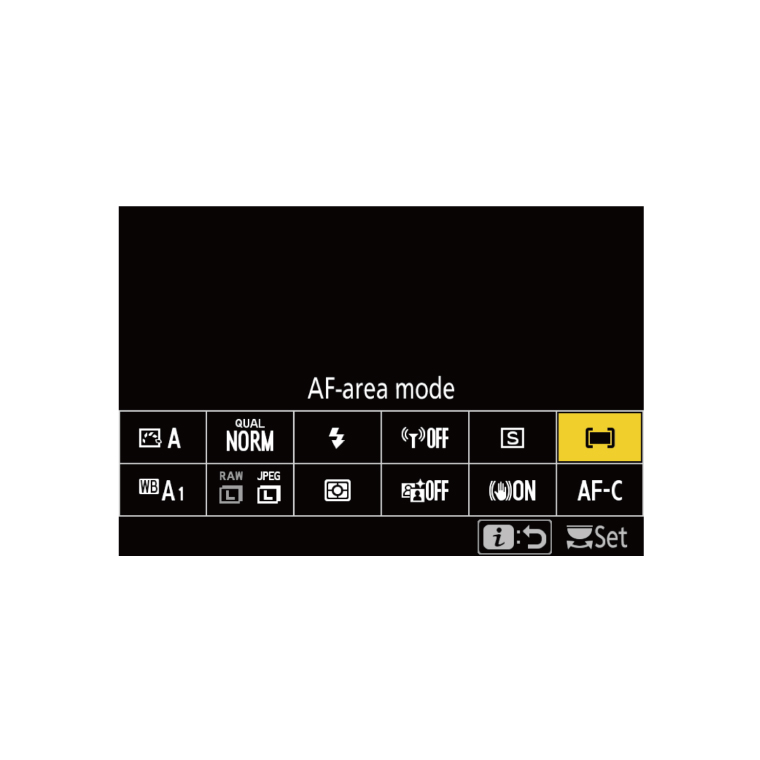
1. Press the “i” button on the back of the camera to display the “i” menu.
2. Select Auto-area AF for AF-area mode.
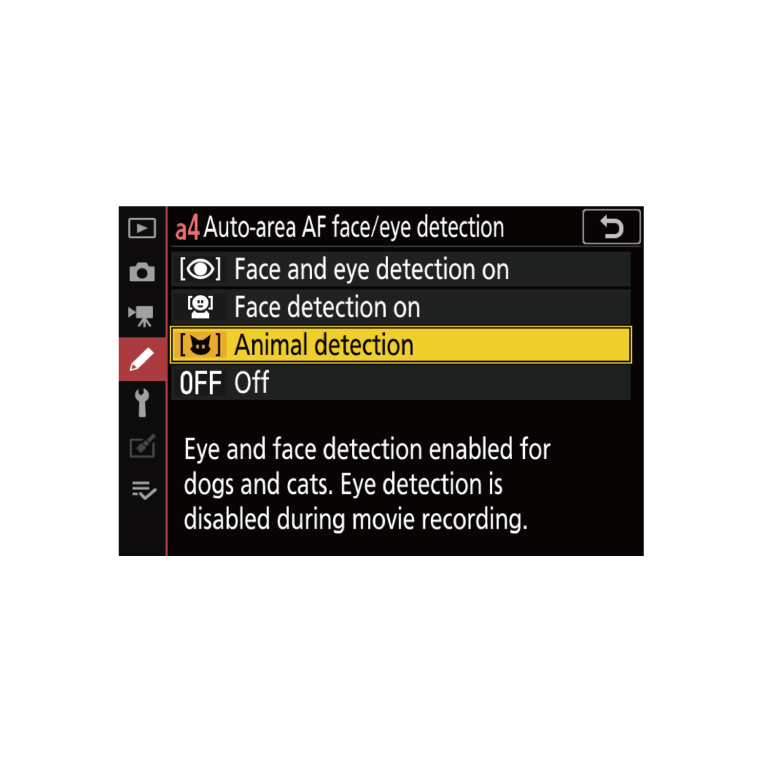
3. Press the MENU button and select the Custom Settings menu.
4. Select Animal detection for Custom Setting a4, Auto-area AF face/eye detection.
I recommend that you choose focus mode AF-C. (If you want to use AF-S, select Off for Custom Setting a12, Built-in AF-assist illuminator. If you choose On, the light from the illuminator could adversely affect your pet’s eyes.)
Animal-Detection AF: Points to Note
The camera may have trouble detecting eyes that are obscured by fur or that are the same color as the animal’s face, in which case you have the option of using the touch shutter. You should also note that eye-detection AF is designed for portraits of human subjects, making it more suited to shots taken at moments when your pet is fairly still. When taking pictures at dog parks or on other occasions when your pet is on the move, use an option like subject-tracking or wide-area AF.
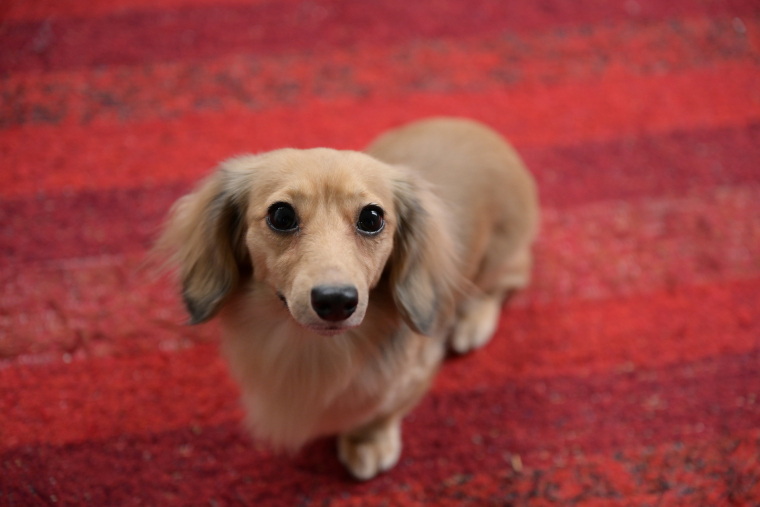
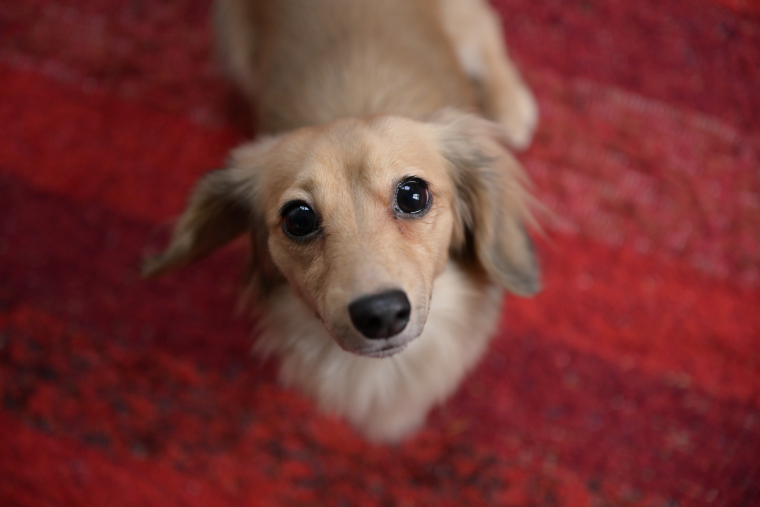
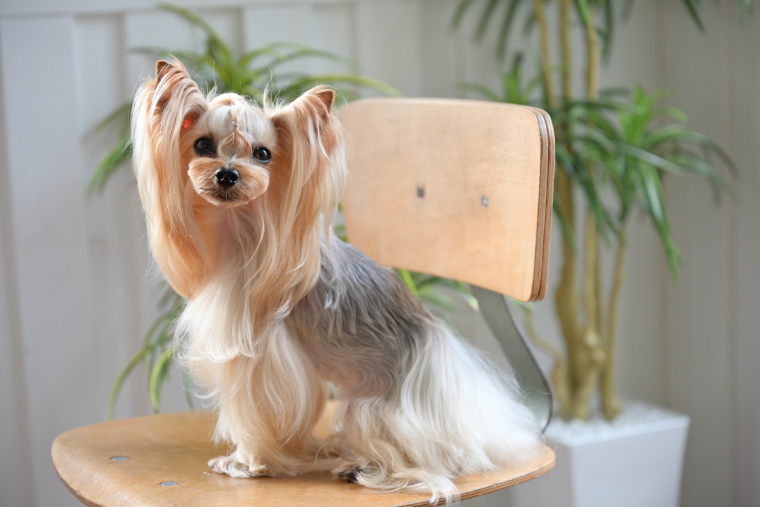
Shooting from Different Angles
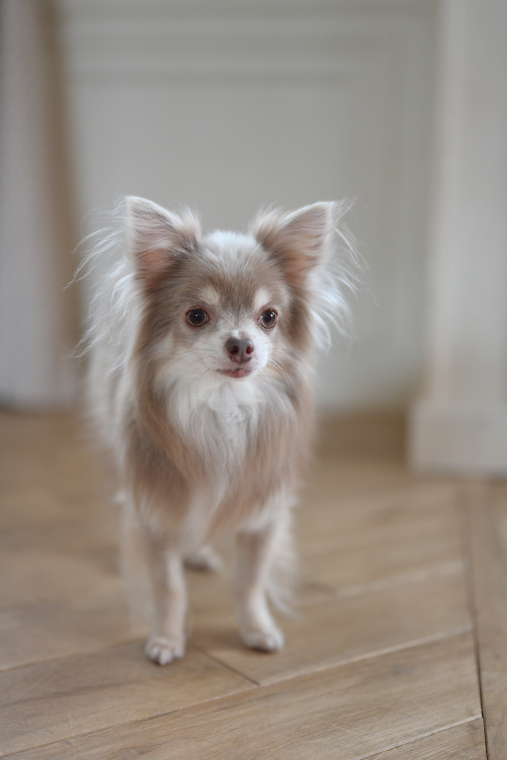
Try capturing your darling pet’s wealth of expression from a variety of different angles. Animal-detection AF works whatever the angle, and can detect faces and eyes both in full-body shots and shots that include only the face.
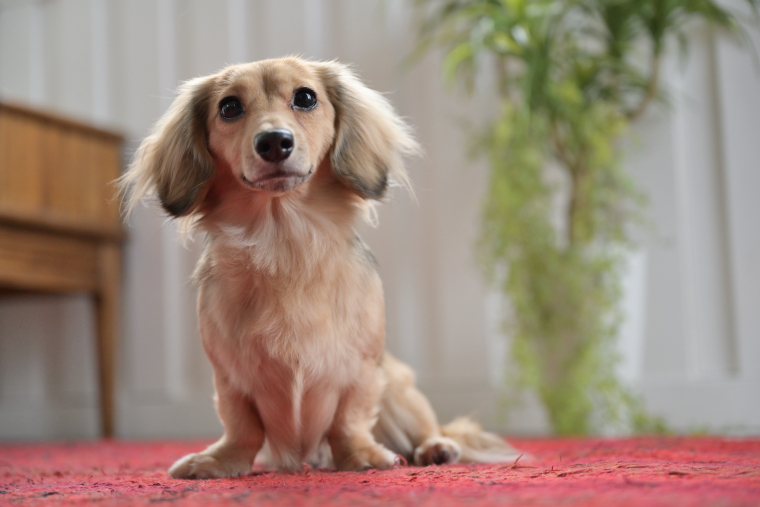
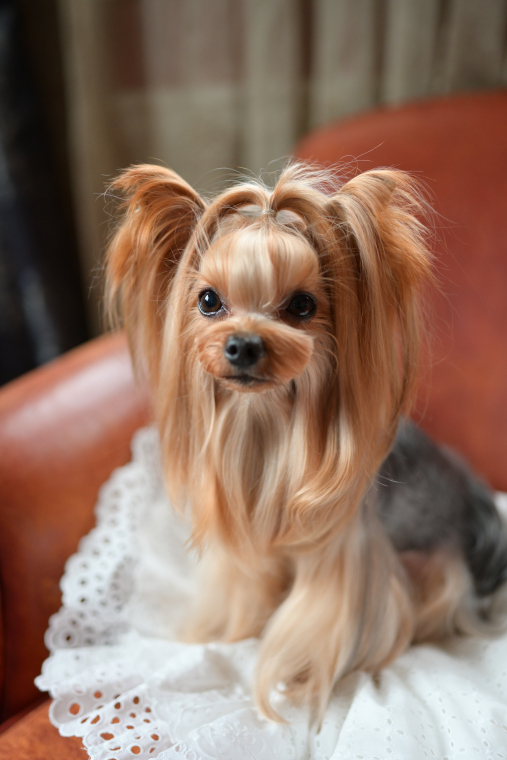
Exposure Compensation
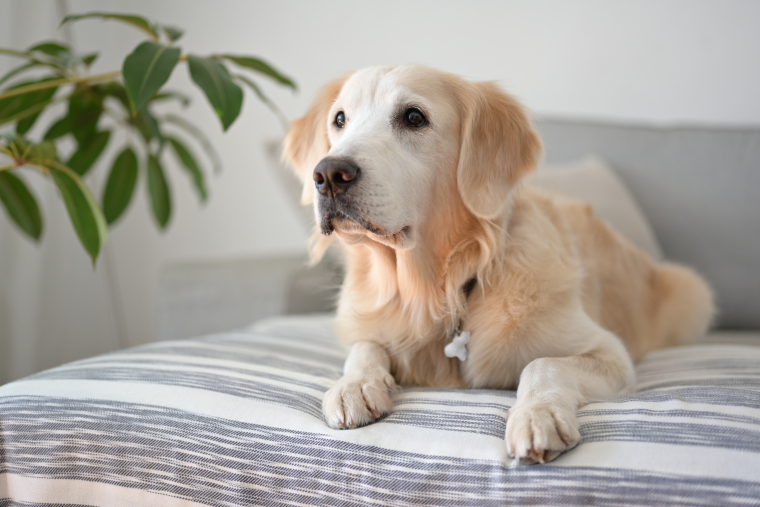
Exposure compensation changes overall brightness. For example, if shots of a white or sleek-furred pet tend to come out a little dark, you might want to raise exposure compensation to make them brighter. In Sample 8, I set exposure compensation to +1 for a brighter shot that highlights the halo of fluffy fur.
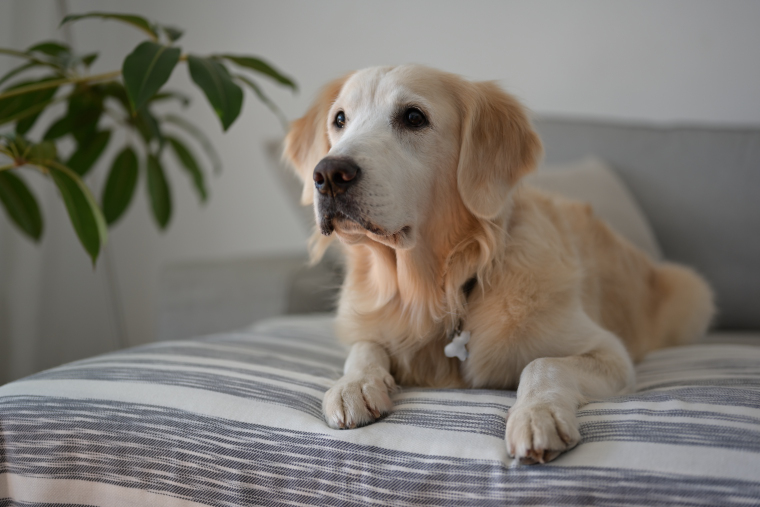
Using a Prime Lens
You can take beautiful crisp photos using the kit lens at an aperture of f/4. But if you want to blur backgrounds or highlight your pet’s fluffy fur, your wishes can be granted by using a fast prime lens.
The Benefits of a Prime Lens
Without a doubt, the best thing about photos taken with a prime lens is their soft bokeh.
At maximum aperture (the lowest f-number setting), everything not in the focus point will be softened and blurred and your subject will stand out clearly.
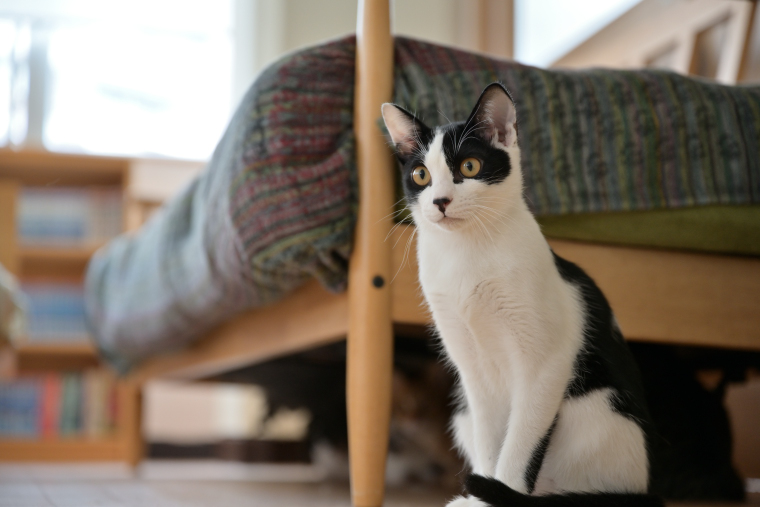
Choosing a wide aperture when using a fast (low f-number) prime lens indoors and in other dimly-lit settings lets you use faster shutter speeds to prevent motion and camera blur.
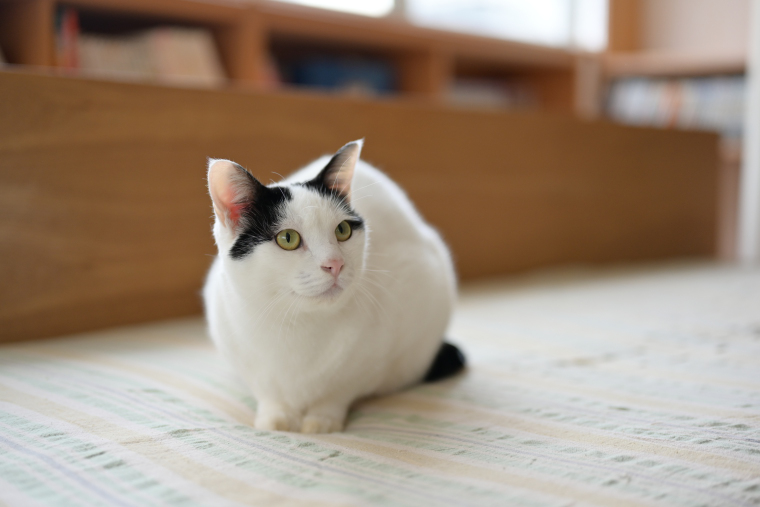
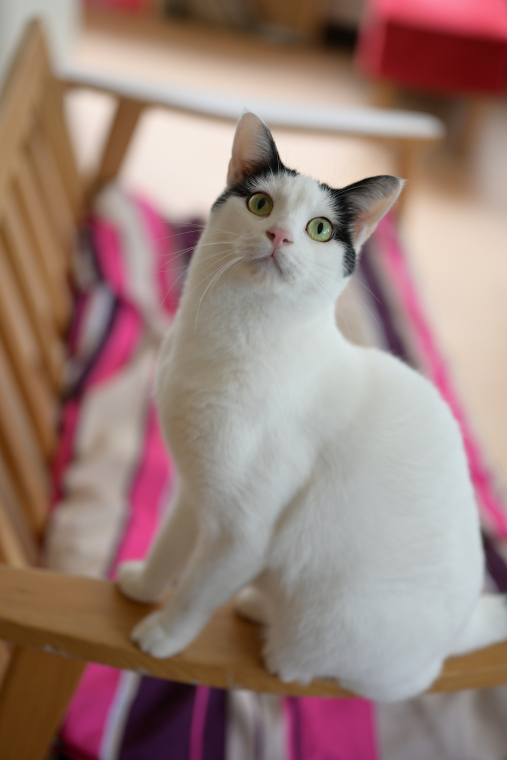
Thanks to animal-detection AF, the cat’s eyes are in sharp focus, while using a lens with a maximum aperture of f/1.8 resulted in a shot where the rest of the body is softened and blurred, conveying a sense of light (Sample 9).
f/4 Versus f/1.8: Comparing Backgrounds

I tried comparing background blur at different apertures.
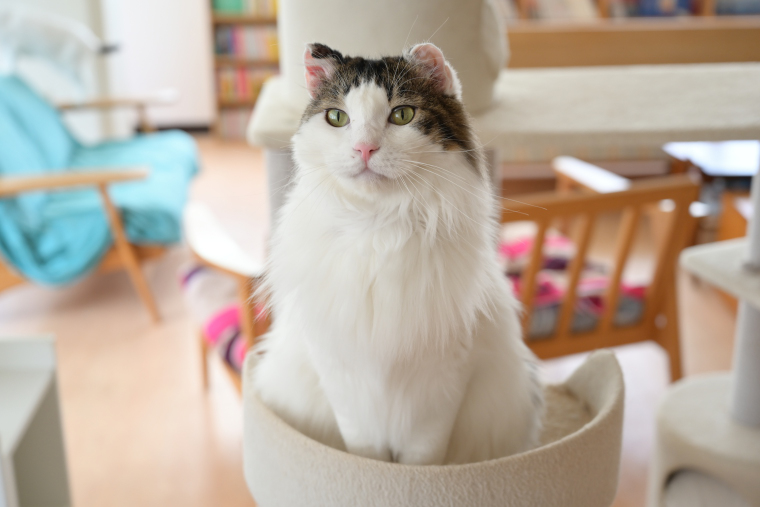
At f/4 the table and chairs in the background are clearly visible, while at f/1.8 they are quite blurred. Using a fast prime lens when shooting in indoor settings that tend to be cluttered with furniture and other visual distractions blurs these background objects for uncluttered, winning shots that bring your pet to the fore (Samples 10 and 11).
Using a Prime Lens for Softness

This composition features a high-contrast background with stairs, posts, and a red wall that make the dog in the foreground hard to see. You can throw the dog into relief using a prime lens with at the widest possible aperture (Sample 12).
When indoors, pets spend a lot of time on their favorite sofa or chair. The background to your shots is often the back of the piece of furniture, which tends to be too close for effective background blur. But a lens with a fast maximum aperture can still add a fair amount of blur even in situations like this. In this shot I was able to blur the black lines of the chair back, eliminating distracting visual elements and bringing the dog and its fluffy fur to the fore (Sample 13).
If the background is much the same color as your pet, I recommend you blur it, as this is particularly effective in making the pet stand out. Here a dog is brought to the fore using a prime lens at maximum aperture. This can be extremely effective especially when the background to the shot includes straight lines or the like (Sample 14).
Group Shots
Focusing on Eyes
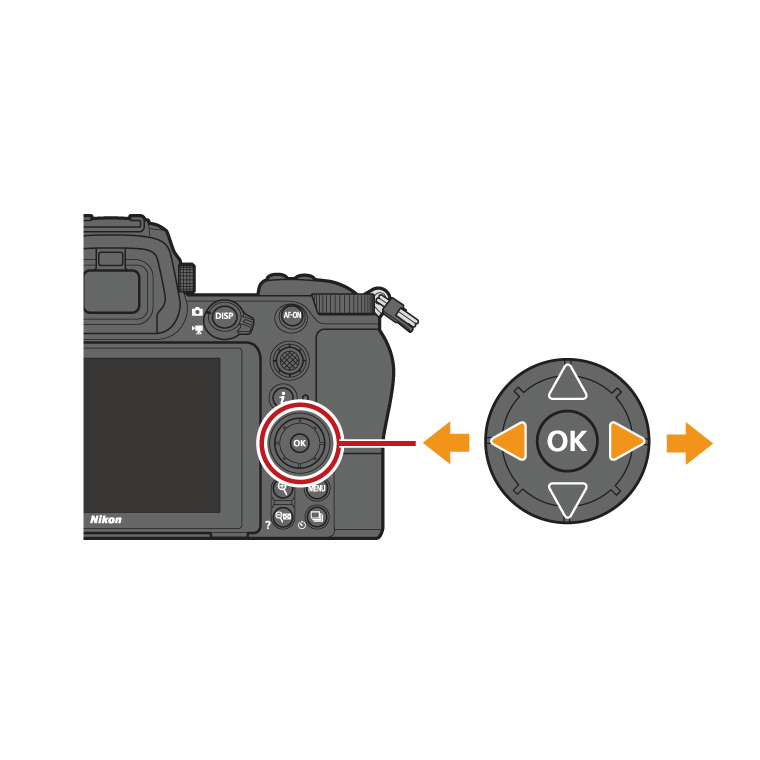
When photographing groups of pets, you’ll want to keep their eyes aligned as closely as possible—particularly if you are using a fast lens to blur the background, as any animals behind or in front of the focus point will be out of focus. If animal-detection AF is enabled, you can choose a subject for focus using the multi selector (Sample 15).
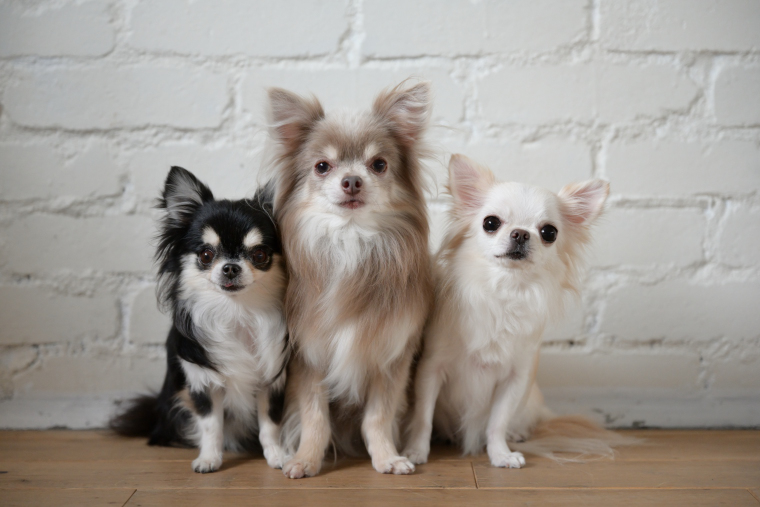
For large groups, you can have the pets line up along a wall so that their eyes are all at the same distance from the camera. It's easiest to get good results if you use the multi selector to position the focus area over the eyes of an animal that is slightly in front of the group. You can then stop aperture down slightly to make it easier to get all the pets in focus (Sample 16).
Adding a Catchlight to the Eyes of a Black Dog
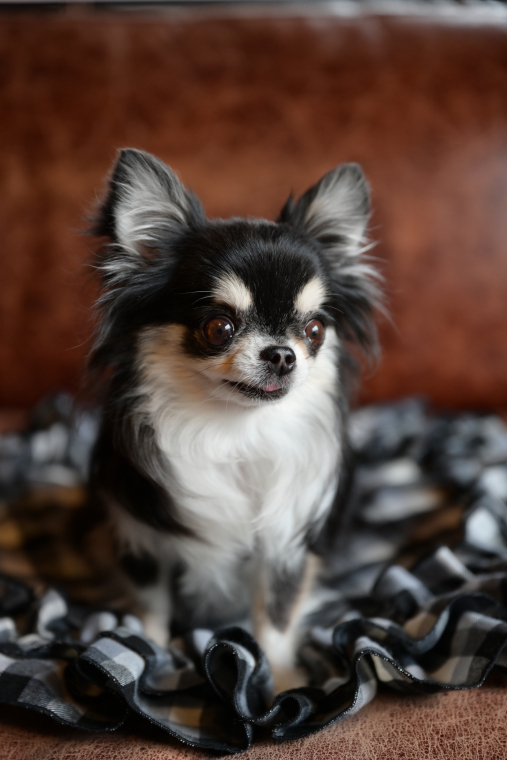
The eyes of pets with black coats can be hard to see—and hard for animal-detection AF to detect—as they are much the same color as their fur. A situation like this calls for attention to lighting. Adding catchlights by directing as much light as you can to the eyes brings a lively sparkle to the expression of even the darkest-furred darling (Sample 17).
Bounce-Flash Photography with Optional Speedlights
Shots taken in dimly-lit indoor settings are prone to motion blur and image artifacts (“noise”) even when ISO sensitivity is raised. “But I want to capture Felix’s amazing-yet-fleeting expressions indoors too!” you cry. The answer to this conundrum is bounce-flash photography. To make eyes sparkle, try using a shoe-mounted or off-camera Speedlight.
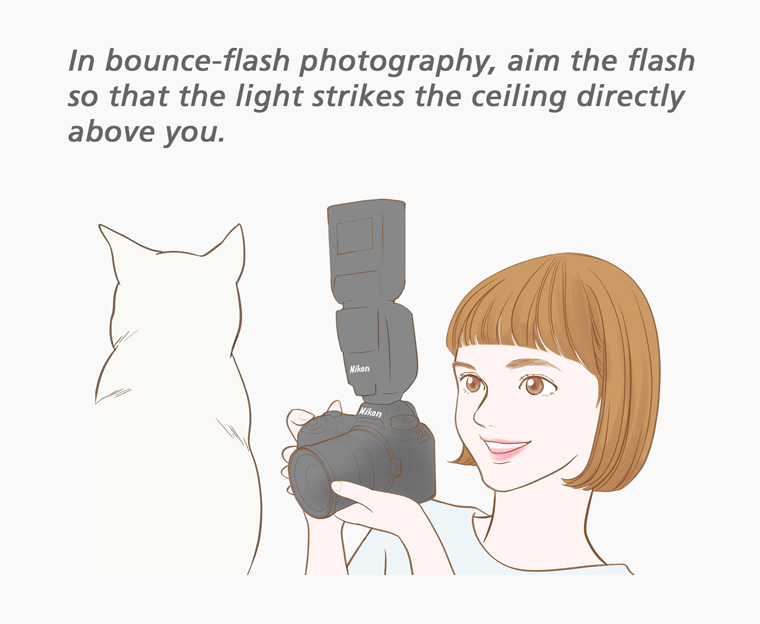
Ceiling bounce-flash photography is a core technique for shooting in rooms with ceilings that are white or light in color. Mount the Speedlight on the camera and direct the flash head at the ceiling. You can put the camera in auto mode and enable auto ISO sensitivity control; after that, you need only enable TTL auto flash control on the Speedlight and press the shutter-release button. Raise flash compensation using Speedlight controls if the photo seems underexposed, or lower it if the photo seems overexposed.
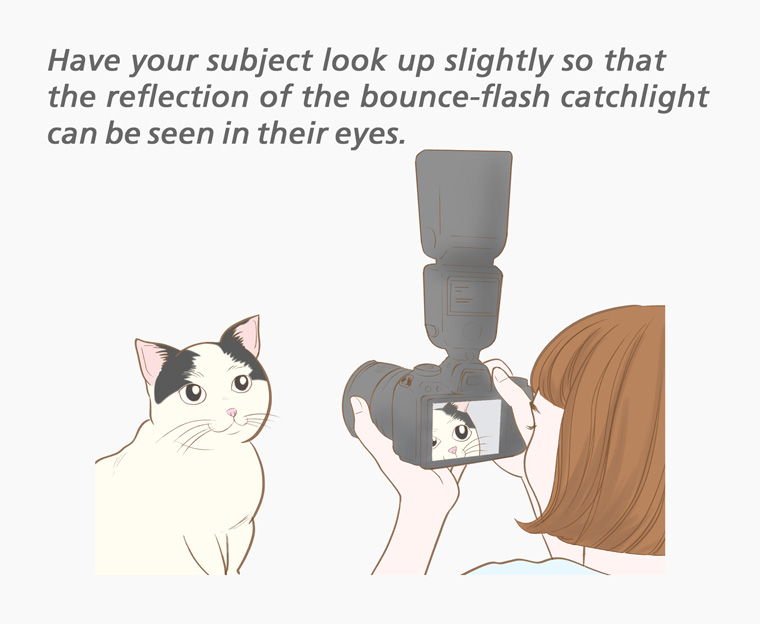
In ceiling bounce-flash photography, light from the brightly-lit ceiling is reflected in the cat’s eyes, creating a catchlight.
If the cat’s eyes are turned slightly down, the catchlight will not be visible and the cat’s expression will look dark (Sample 18).
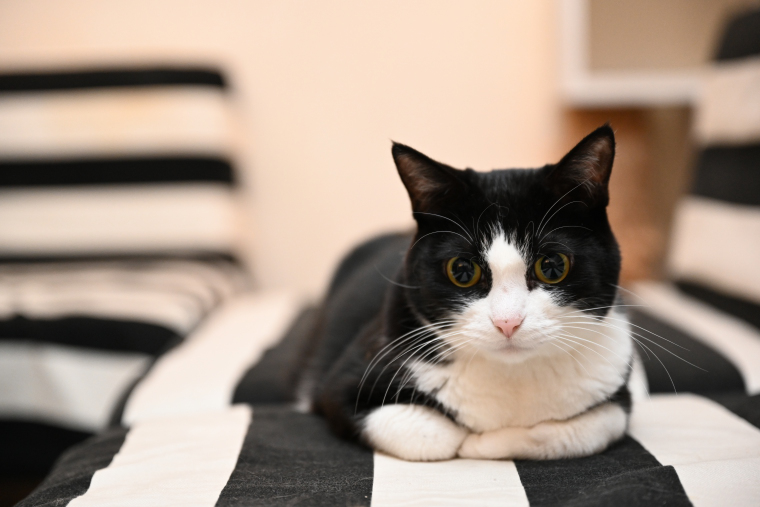
If you have the cat look slightly up, the light from the ceiling will be reflected in the cat’s eyes, adding sparkle for an expression that is simply adorable (Sample 19).
Bounce-Flash Photography: Cautions
You’ll be taking a lot of close-ups, so avoid using the camera’s built-in flash, if it has one. For bounce-flash photography, pay attention to the angle of the flash head and aim the flash to bounce off a wall or ceiling rather than shining directly into your pet’s eyes. Note too that flash photography is often prohibited in settings such as cat cafés—check with the management before you shoot.
Using the Touch Shutter
Z-series mirrorless cameras make the touch shutter in the rear monitor far easier to use. When it comes to photographing pets, the touch shutter offers many benefits. If your pet is lying on the floor, there is no need for you to compose the shot in the viewfinder while flat on the floor yourself; instead, you can tilt the monitor and look down to frame pictures. This lets you maintain eye contact while shooting so that pets who aren’t used to the camera won’t be frightened. You’ll also find the touch shutter handy when the camera has a hard time focusing using animal-detection AF, for example when there is fur hanging over your subject’s eyes. You can tap your pet’s eyes in the monitor to select the focus point with precision.
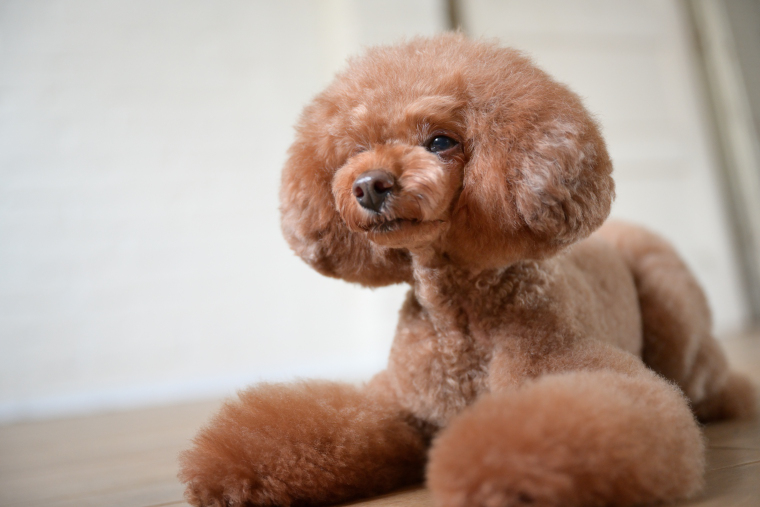

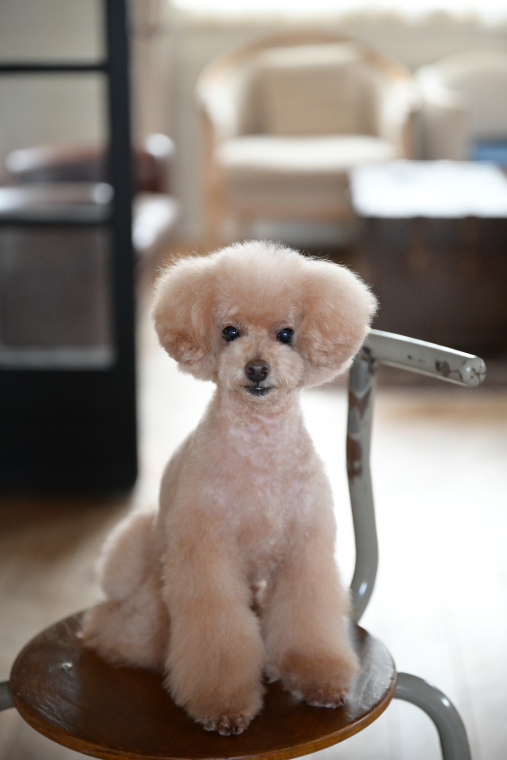
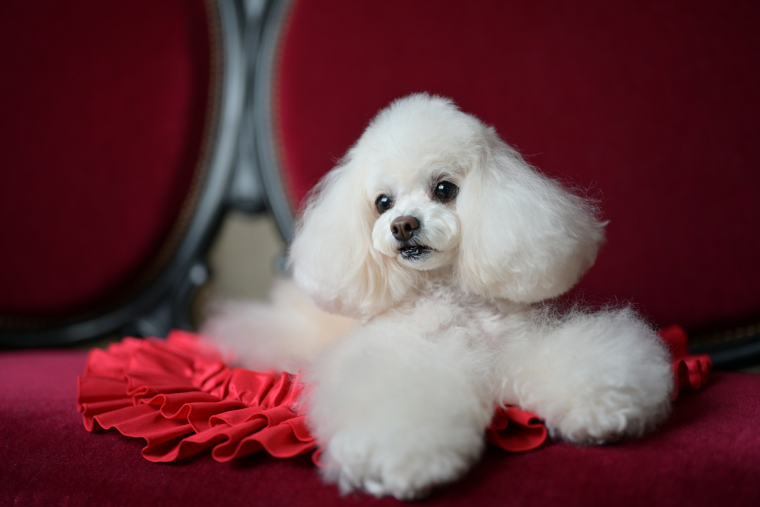
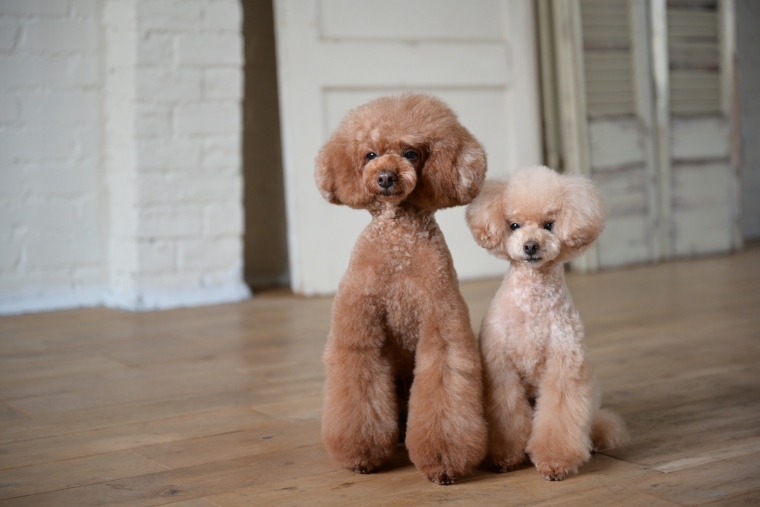
Here I was able to focus reliably on the eyes of a poodle that were obscured by fur (Sample 20).
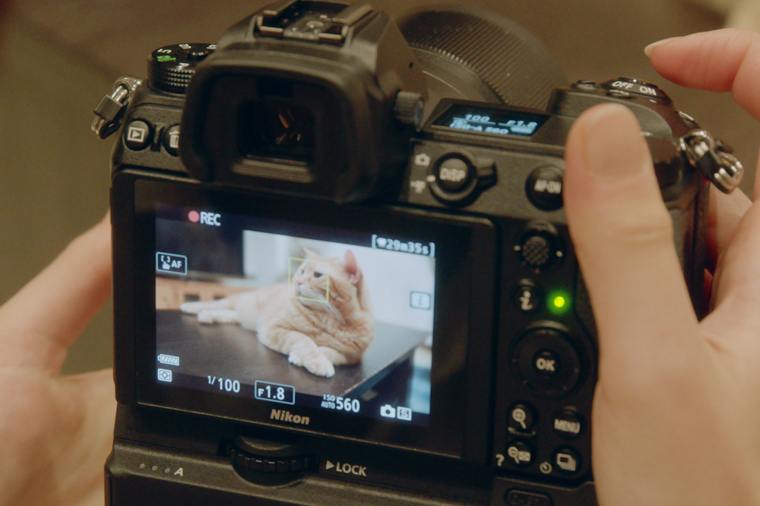
Recording Movies with Animal-Detection AF
Animal-detection AF can be used to record movies, with the limitation that it only detects faces, not eyes. You can distract your pet with one hand and maintain eye contact during recording, making it easy for you to create movies that capture your pet’s charming personality.
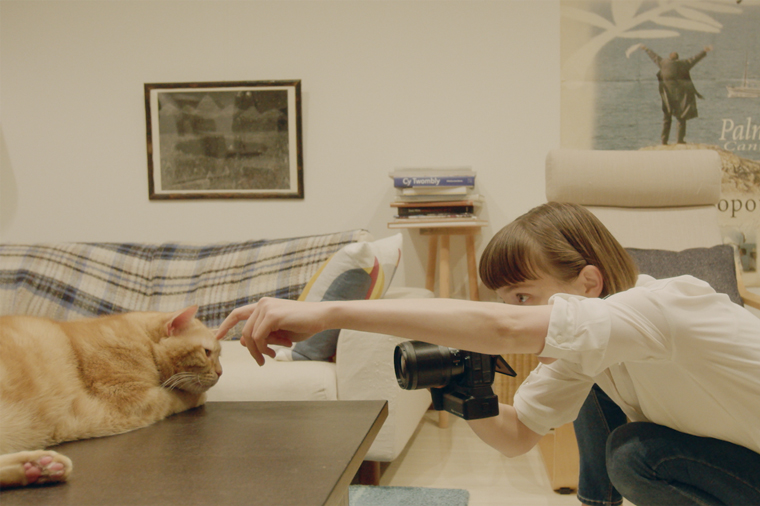
The Most Important Thing: Communication
While there are many other techniques for getting appealing shots of your pet—fast shutter speeds and high ISO sensitivities among them—what’s most important is to enjoy yourself while maintaining communication with your pet. Give Fido a treat or play with your cat—the key to getting good photos is to convince your pet that when they see the camera pointed at them there are fun times ahead. Try always to keep a smile on your face while taking photographs.

Thanks to: NEKO-SHIKI/Nyafe Melange
illustration by MIKA ROKKAKUBASHI