D850
Radio AWL 1: Shooting Portraits with a Single Flash Unit
Armed only with a single flash unit, you can manipulate light and shadow to show your subject at their best. Once you have mastered such techniques as “bounce-flash photography”, in which light from the flash is reflected off a ceiling or other surface, or “off-camera flash photography,” in which the flash is placed at a distance from the camera, you’ll be able to create whatever effect you desire without reference to the ambient lighting conditions at your location.
Master one-flash photography by learning the ins and outs of your flash unit’s
many features, including flash angle, power, and spread, and the effects that can
be added with accessories.
Softening
the Flash: Bounce-Flash Photography
On-camera flash photography
using a flash unit mounted on the camera accessory shoe can produce effects that cannot
be achieved with a built-in flash. In addition to the more powerful lighting, the
most notable feature is that the flash head can be angled to freely direct the light.
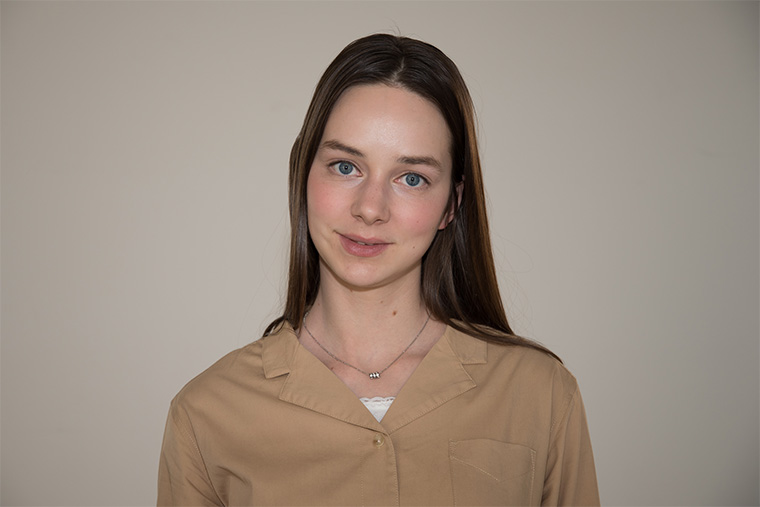
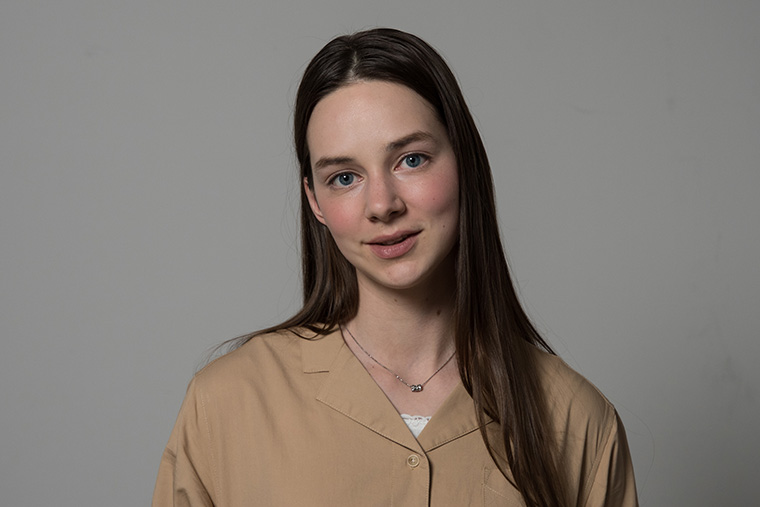
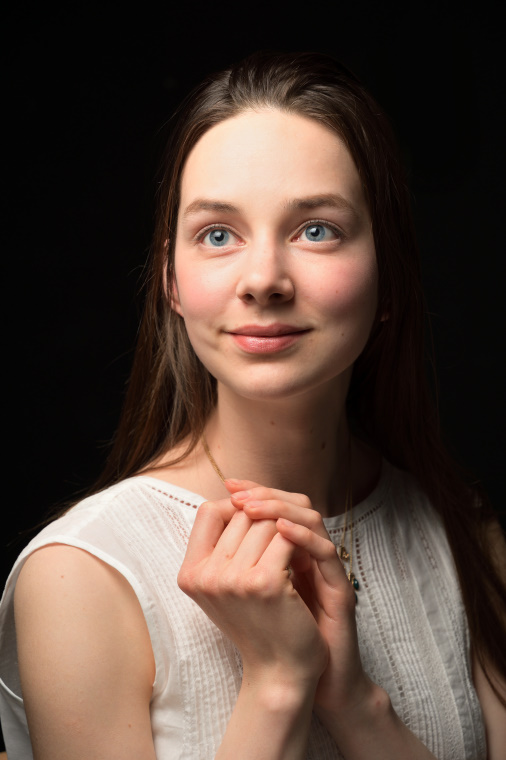
Using an on-camera flash unit to light portrait subjects directly can result in glare from the subject’s skin or homogenous lighting that flattens and hardens their expression. If you use “bounce-flash photography” to reflect the light from the flash off a ceiling or other surface, the subject will be lit by light spread broadly over the reflecting surface, softening and adding depth to their features.
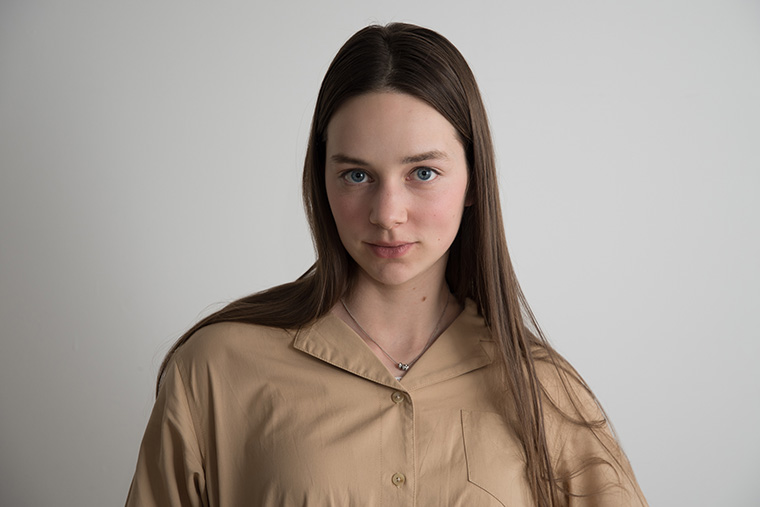
When shooting indoors, walls and ceilings act as handy and effective reflective surfaces.
To bounce light off the ceiling, angle the flash head upwards. Fundamentally, you
want to aim the flash at the ceiling directly above or a little behind the camera
so that the subject is evenly lit. Bouncing the light off the ceiling reduces glare
from the subject’s skin and creates a soft effect. If the ceiling is too high
for the light from the flash to properly light the subject or you are concerned about
shadows under your subject’s chin or nose, you can bounce the light from the
flash off a nearby wall instead of the ceiling to add a natural-looking sense of depth.
If you choose a corner, you can hope for reflections from more than one wall. A flash
unit with a head that rotates horizontally can be used to bounce light off a wall
without first removing the unit from the camera.
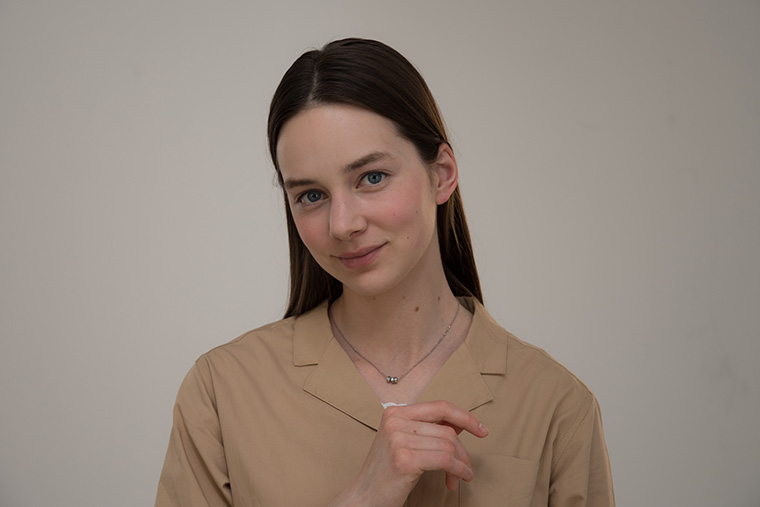
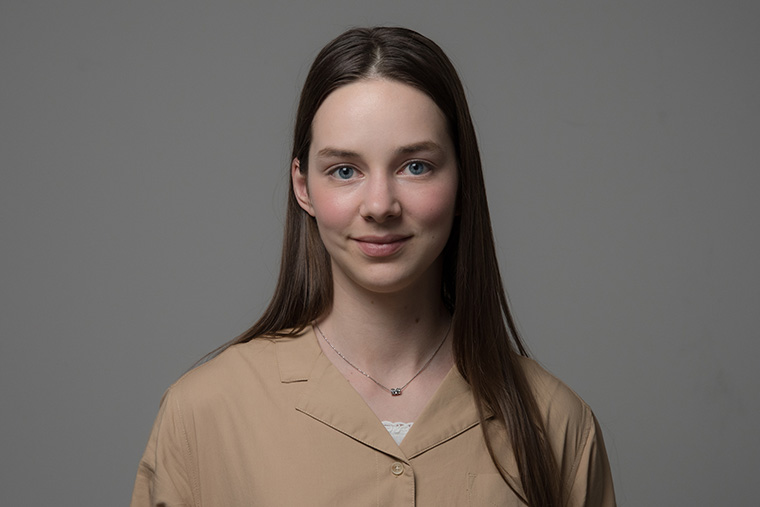
In bounce-flash photography
the light reaches the subject by way of a reflective surface, and the catchlight reflected
from your subject’s eyes will be less noticeable. When bouncing light off the
ceiling, you may want to use the flash unit’s built-in catchlight panel, a.k.a.
“bounce card”. The light striking the bounce card is redirected toward
the subject, adding a clearly visible accent to their pupils and lending life to their
expression. The bounce card also directs light at your subject’s face, so you
may find it handy to learn the technique of sliding the bounce card in or out to adjust
the amount of light reflected, for example by sliding it in a little way if it lights
your subject too brightly.
Redirecting
Light to Create New Effects
A flash unit mounted on the
camera can only direct light in a limited number of ways. If you’re feeling
boxed in, try taking the flash unit off the camera. Removing the unit from the camera
and mounting it on a stand leaves you free to choose how the light is placed. For
example, you can place it up high for an effect close to that produced by the sun
or room lighting to which the human eye is already adapted.
The camera
and flash unit needn’t be directly connected via a cable: the camera can also
control the flash unit remotely using optical or radio signals for wireless lighting.
Radio control lets you place the flash in locations unreachable by cables or optical
signals, opening up a whole new range of photographic possibilities. To use radio-controlled
wireless lighting, you will need a radio-controlled SB‑5000 flash unit and a camera
that supports radio-controlled wireless lighting, such as a D500, with a WR-R10 wireless
remote controller (and WR-A10 10-pin terminal WR adapter) attached.
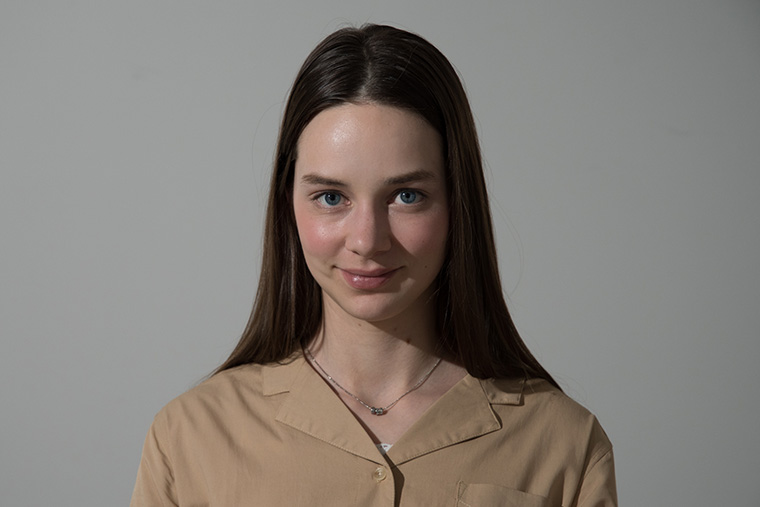
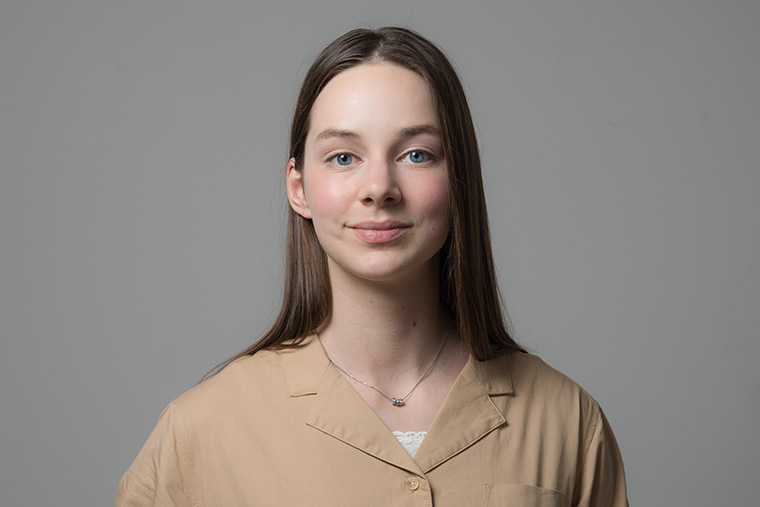
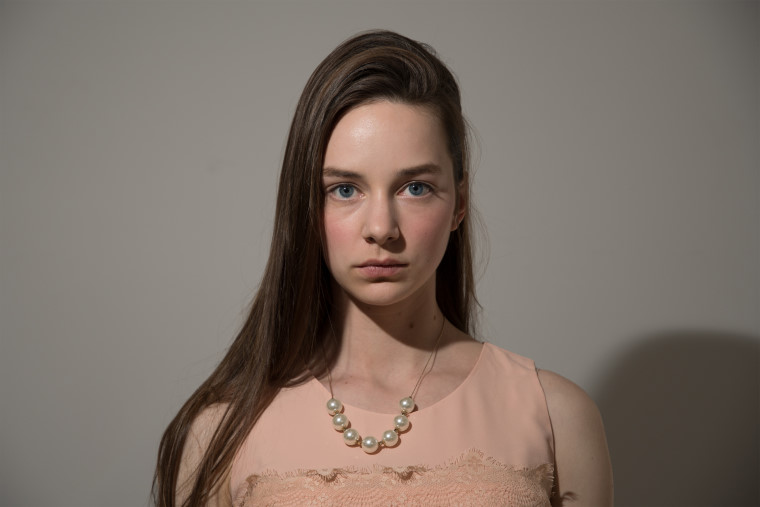
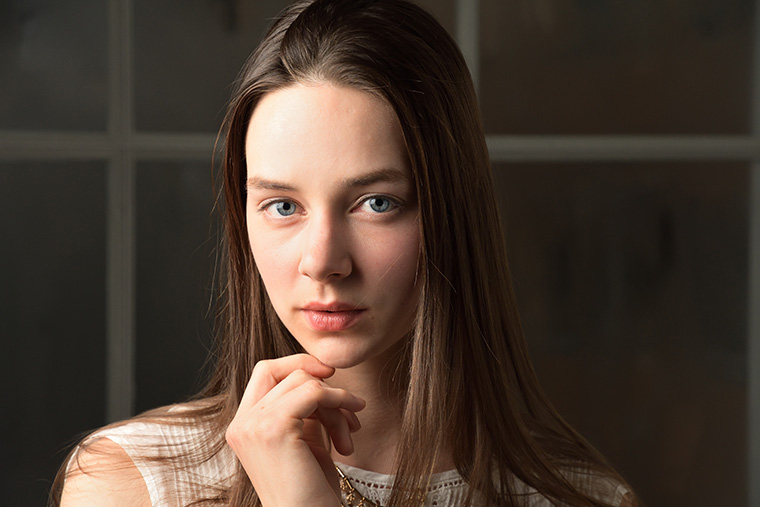
In portrait photography, the depth and shape of the shadows on the face are closely
tied to your artistic intent in terms of how you want your subject to be presented.
For example, lighting your subject from an angle of 45 degrees above and to the left
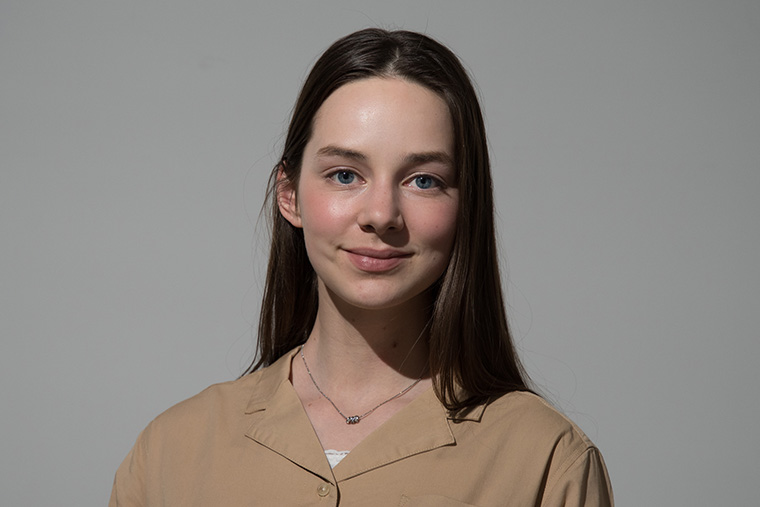
adds a dignified effect via the deep shadow bordering the nose. Moving the flash down
to a position more in line with the subject, say 30 degrees up and to the left, reduces
the shadows that divide the face in two for a softer-looking portrait.
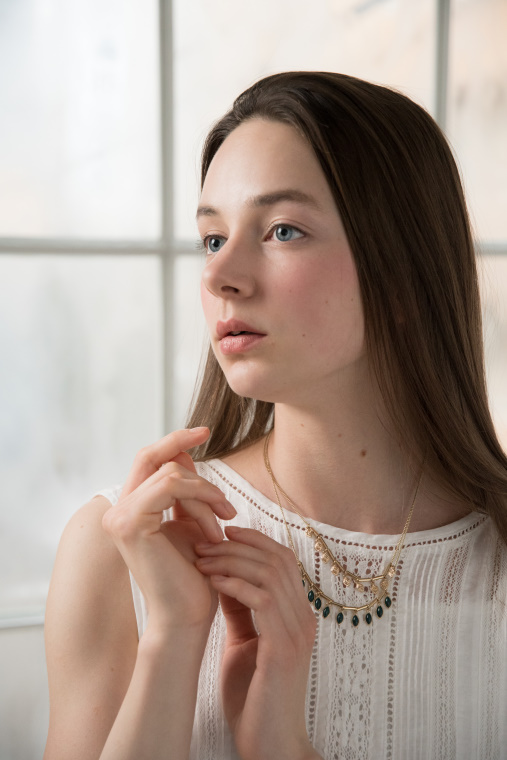
Using an off-camera flash for portrait photography lets you light your subject from
a position independent of the camera’s angle and height, allowing you to capture
the expressions brought out by light sources at different positions and distances.
Knowing how the shadows on the face can change according to where you place the flash
unit allows you to get exactly the portraits you want.
Optional Accessories
The effect of accessories on flash photography cannot be overlooked.
Third-party
accessories such as softboxes and diffusers diffuse
the light from the flash, creating a light source with a larger surface. In general,
the larger the lighting surface, the closer the subjects will come to looking as though
they are lit by normal natural light.
Diffusers such as softboxes and “flash benders” can be attached to the flash head to diffuse the light from the flash. The lighting surface can be shaped to direct and position the diffused light however you please.
Softboxes collect and redirect the light from the flash inside the
enclosure and then pass it through an inner diffuser to light your subject. The softness
and strength of the lighting can be adjusted by changing the distance between the
softbox and your subject.
Adjusting
Flash Spread and Brightness: Zoom Head Position
When mounted
on the camera, flash units automatically adjust the zoom head position
to match lens focal length. For off-camera flash photography, however, the zoom head
position must be selected manually.
When using an off-camera flash, photographers normally choose wider settings so that
the flash lights the entire area covered by the lens, but longer settings can be used
to deliberately create a spotlight effect.
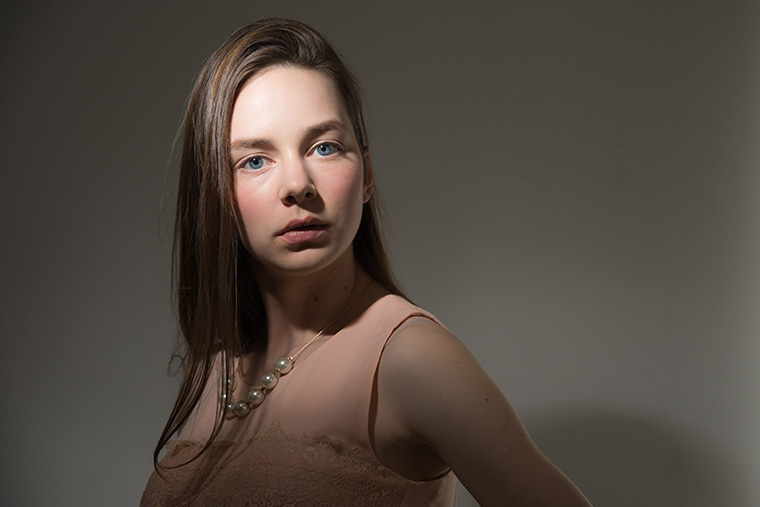
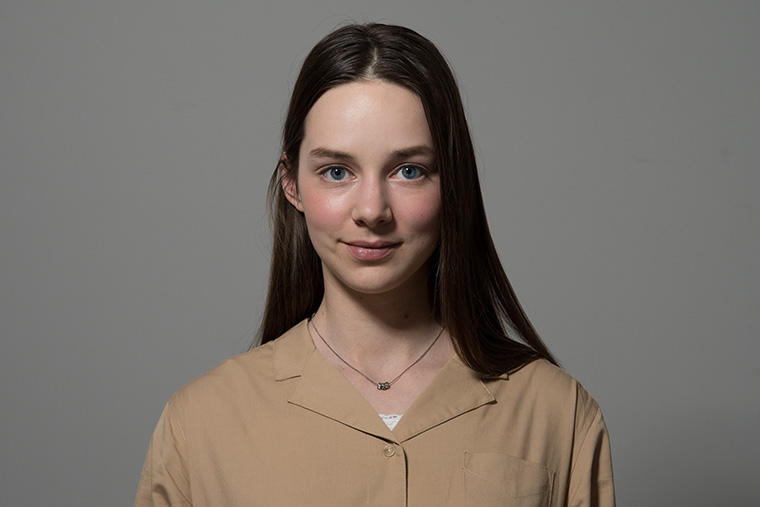
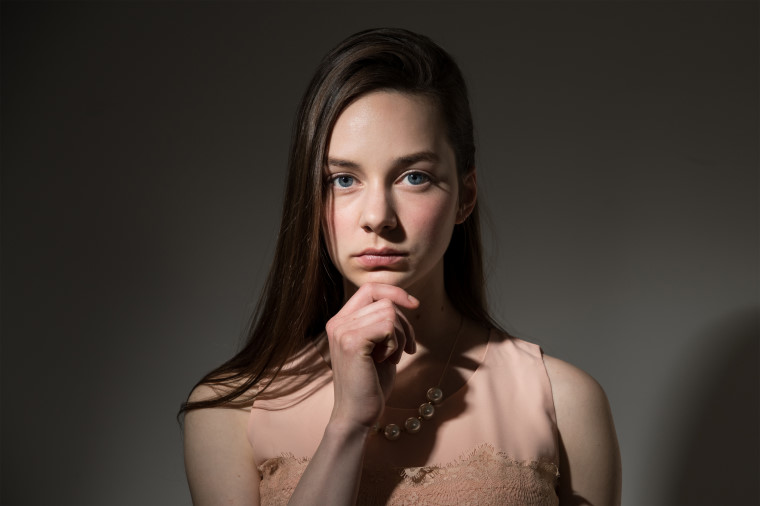
Eliminating Background Lighting
With just one off-camera flash, you can create portraits that eliminate the
effects of ambient lighting and throw the subject into relief using only the light
from the flash.
To separate your subject from the background, increase the distance between the background
and your subject or use a black backdrop, choose a fast shutter speed and adjust aperture
and sensitivity to reduce exposure overall, and light your subject using only a flash
unit positioned to one side. The unlit areas of the frame will blend into the background,
creating a dreamlike portrait.
Adjusting
Camera Settings
Camera settings are important in determining
how your subject is lit. Aperture, shutter speed, and ISO sensitivity not only affect
the shadows produced by the flash, but let you choose how ambient lighting balances
or contrasts with flash lighting.
Effectively combining flash and camera
settings expands your creative potential to cover everything from high-contrast portraits
that make effective use of the light from the flash, to soft, natural portraits in
which the use of the flash is not readily apparent.
Just altering the flash position or flash level or changing how ambient lighting is incorporated produces portraits that feel completely different, and this is one reason we recommend adding a flash unit in your day-to-day photography. Take the first step to getting the portraits you want by mastering off-camera flash photography with a single flash unit.