D5600
Camera Functions
Setup from the Camera Menus
The camera clock can be set manually.
Procedure
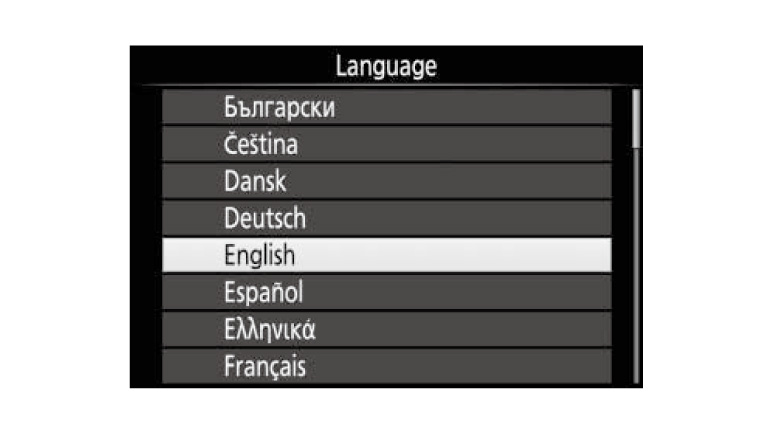
01. Turn the camera on.
A language-selection dialog will be displayed.
A language-selection dialog will be displayed.
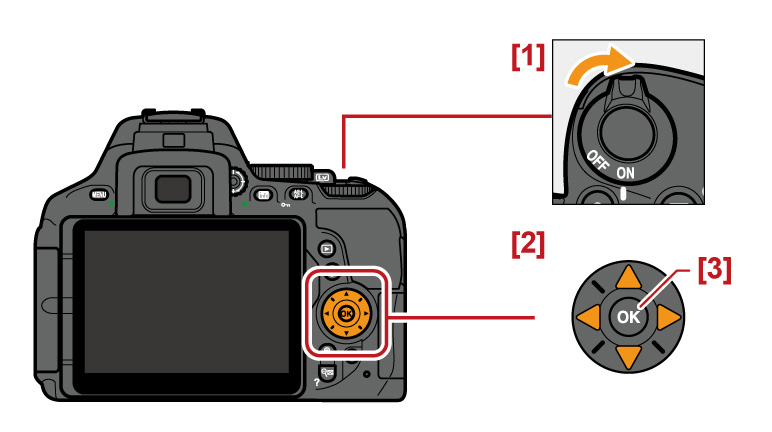
Use the multi selector and  button to navigate the menus.
1: Power switch
2: Multi selector
3:button (select)
1: Power switch
2: Multi selector
3:
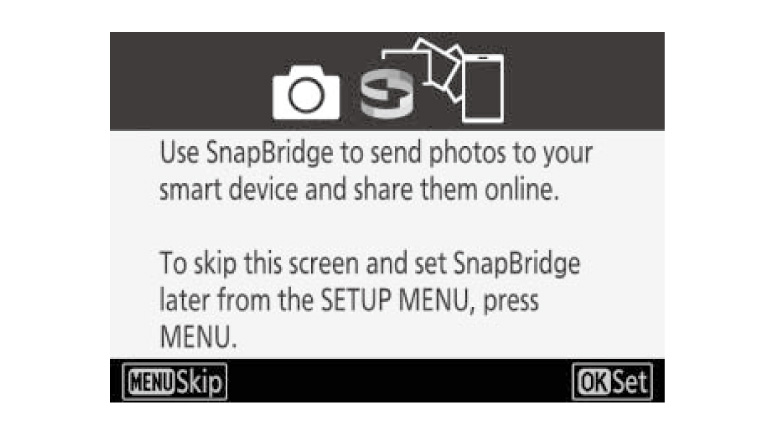
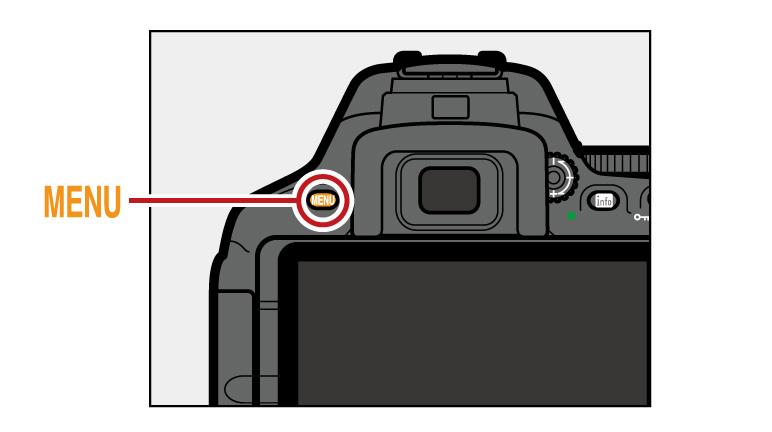
02. Press MENU when this dialog is displayed.
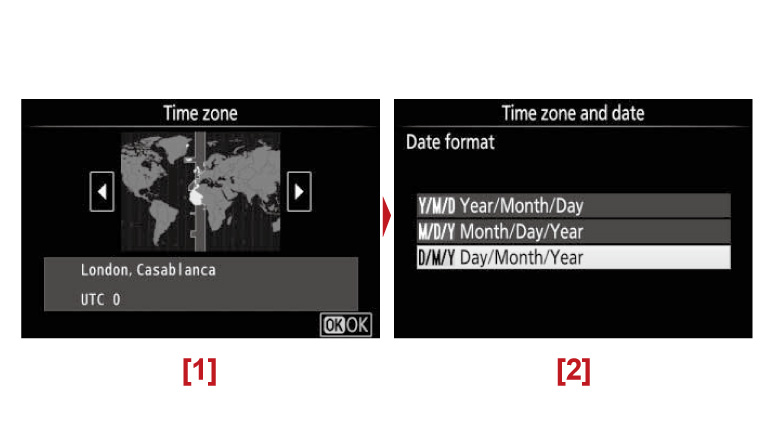
03. Set the camera clock.
Use the multi selector and button to
set the camera clock.
1: Select time zone
2: Select date format
Use the multi selector and
1: Select time zone
2: Select date format
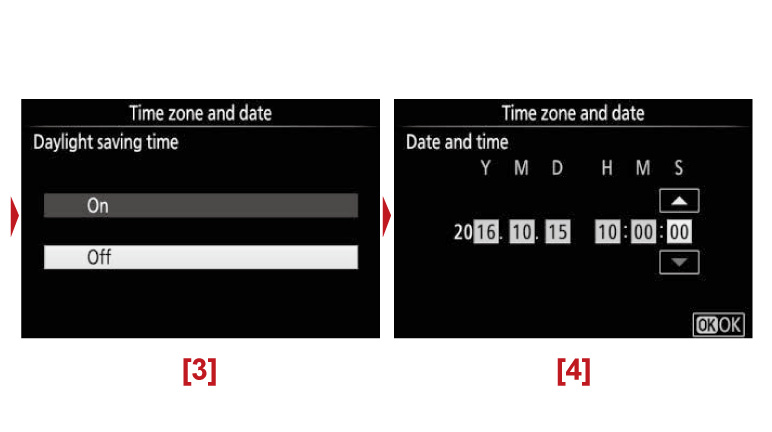
3: Select daylight saving time option
4: Set time and date (note that the camera uses a 24-hour clock)
The clock can be adjusted at any time using the Time zone and date > Date and time option in the setup menu.
4: Set time and date (note that the camera uses a 24-hour clock)
The clock can be adjusted at any time using the Time zone and date > Date and time option in the setup menu.
More D5600 Tips and Tricks