Video Shooting
Video Shooting #6: Exposure Control for N-Log Recording
Supervised by Kaz Ohata (Cinematographer)
Sample cinematography by Yoko Asazuma (Cinematographer)
N-Log is an essential tone mode that fully utilizes the dynamic range of Nikon cameras to capture rich tonal gradation, offering high-quality footage with great flexibility when color grading.
In this article, we'll introduce the fundamental exposure control methods and camera settings for shooting in N-Log through actual shooting scenarios.
Index:
We'll start with the exposure control methods.
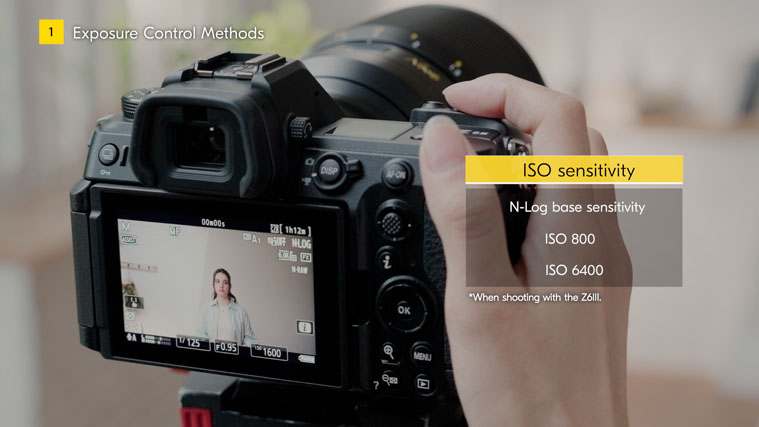
When shooting video, you don't have as much freedom to change the ISO sensitivity and shutter speed, as it greatly affects the look of the video. Therefore, you mainly need to control exposure using the aperture and an ND filter. ISO sensitivity may affect dynamic range and noise performance, so it's best to set the ISO sensitivity to the base sensitivities for each camera. For example, when shooting in N-Log with the Z6III, the base sensitivities are ISO 800 and ISO 6400.
*The base sensitivities for the Z9 and Z8 are ISO 800 and ISO 4000.
Changing the value of the shutter speed can affect the motion blur and increase flicker issues, so there are restrictions for using shutter speed to control exposure. A good way to avoid flickering in video is to set the shutter speed according to the frequency of the power supply, unless otherwise intended. For example, in regions where the frequency of the power supply is 50 Hz and when recording at 30 fps, setting the shutter speed to 1/50 reduces flickering.
In most cases, after adjusting these basic settings, you will control the exposure using the lens aperture and an ND filter.
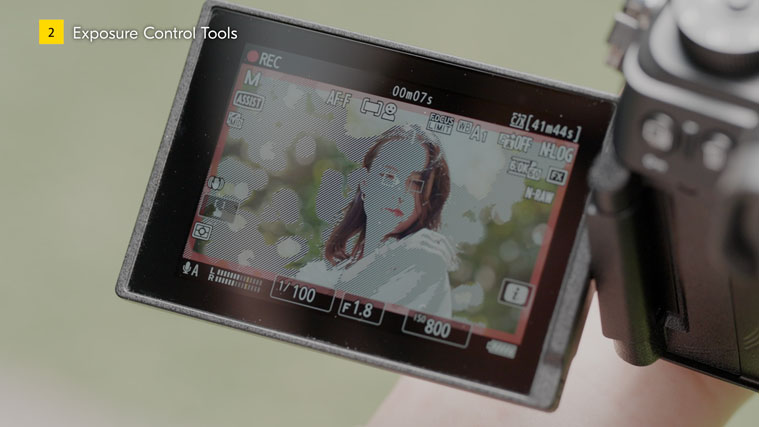
We'll now introduce camera functions that are useful for controlling exposure.
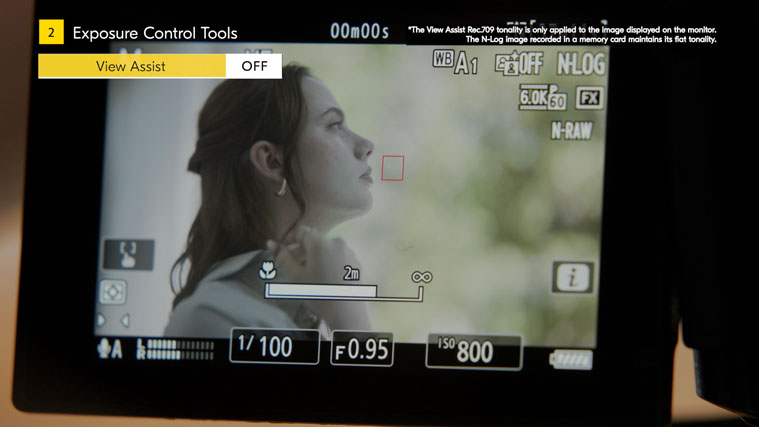
The first is View Assist.
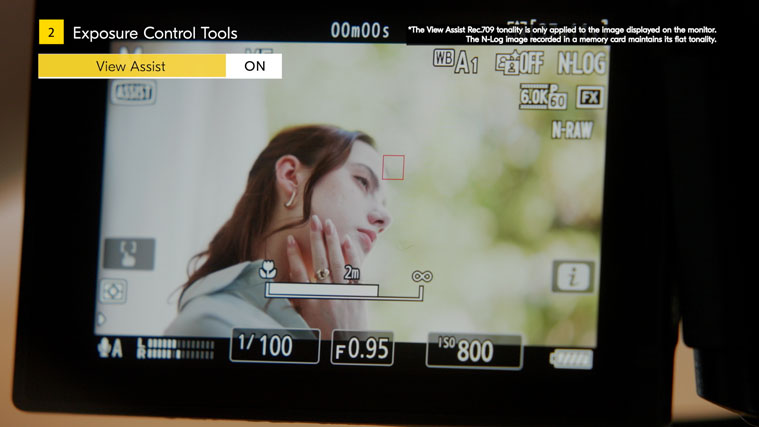
Images in N-Log tone mode have flat tonal gradations as they are, making it difficult to determine the appropriate exposure when viewed on the monitor. To correctly control exposure, it is necessary to convert the image to standard contrast. You can do this with the View Assist function*.
*The View Assist Rec. 709 tonality is only applied to the image displayed on the monitor. The N-Log image recorded in a memory card maintains its flat tonality.
As a general rule, we recommend turning on View Assist when shooting in N-Log.
Next, using the wave-form monitor is useful for checking for white clipping. The vertical axis represents brightness, and the horizontal axis corresponds to the position of the frame displayed on the monitor.
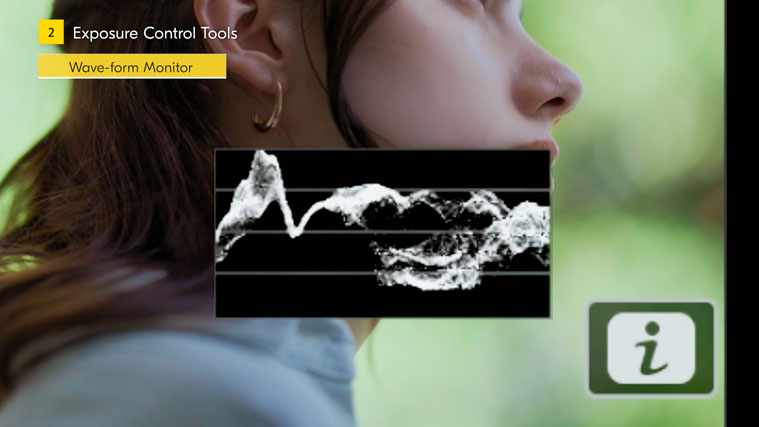
If highlights are blown out, the signal clips, and it looks as if it is stuck to the ceiling, so you can confirm exactly where in the image the highlights are blown out. A similar feature to the wave-form monitor is the zebra pattern settings.
The zebra pattern settings allow you to display areas of specific brightness on the actual image, such as blown-out highlight areas, with diagonal, zebra lines.
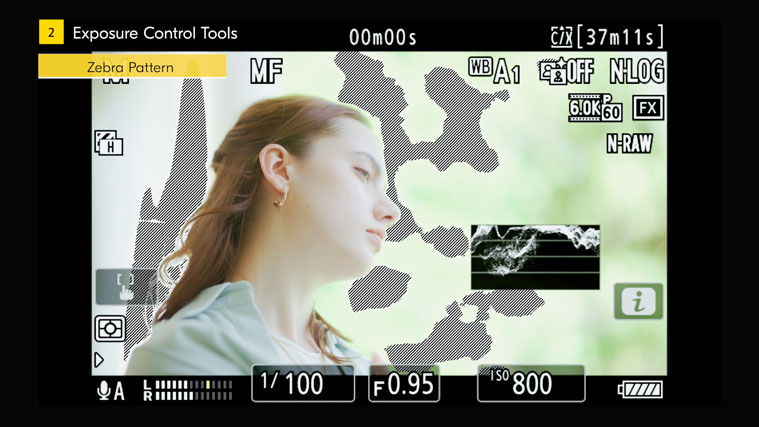
You can specify the brightness range for when the zebra pattern lines are displayed from 256 steps of gradation.*
*The zebra pattern settings use 8-bit, 256 gradations from 0 to 255, rather than IRE values equivalent (0-100%).
For example, if you want to control blown-out highlights, you can set the tone range to highlights and set the threshold to 250 to display highlights that are likely to be blown out and use them as a reference for exposure control.
Videographers also use an exposure control tool called false color, which displays color-coded areas of brightness to control the brightness of skin tones. You can monitor exposure in a similar way to the false color by setting the tone range of the zebra patterns to mid-tones to display the zebra pattern lines for skin brightness.
Here, we explain how to make the camera settings.
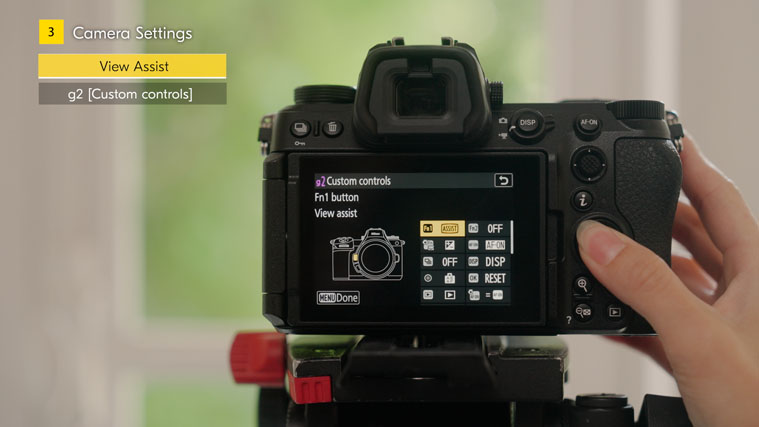
These functions for exposure control can be switched on and off easily by assigning them to custom controls.
For example, to assign View Assist to a custom control, set View Assist to the custom control of your choice in g2 [Custom controls].
*This video uses the Z6III to record video samples and explain the camera's functions. Menu numbers may vary by model, so please refer to your camera's reference guide.
For zebra pattern settings, open Custom Settings, g14 [Zebra pattern]. For example, set the [Threshold] for the Highlight threshold to 250, then set the [Value]* of Mid-tone range to 110 and the [Range] to ±20. Assign [Pattern tone range] to a custom control.
*The mid-tone value refers to 18% gray, which is commonly used for a light skin tone for the false color function.
For wave-form monitor, select g17 [Brightness information display] and [Wave-form monitor] in Custom Settings. In g18 [Custom Monitor Shooting Display], assign [Brightness information] to one of the displays 1 to 4.
Press the DISP button to switch the monitor display to show the wave-form monitor.
By using the custom controls, you can quickly turn each tool on and off.
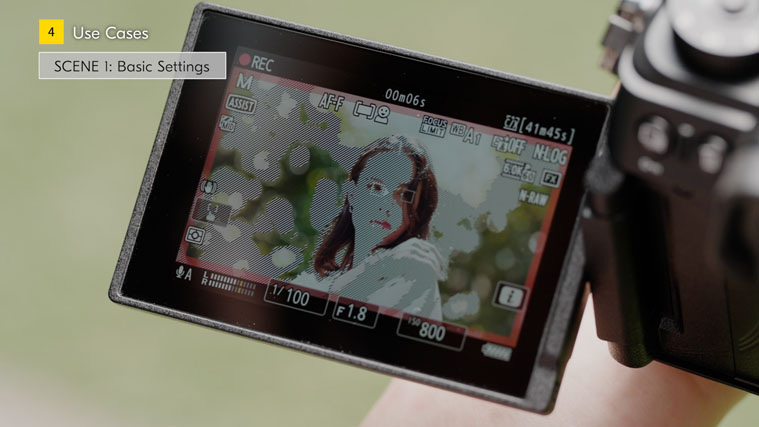
Finally, as a use case, we will introduce specific ways to use the exposure control tools in actual shooting situations. In this case, we will shoot fashion portraits as a reference.
First, let's go through a basic method. For portraits, it is common to decide exposure based on the brightness of the skin.
Turn on View Assist and get your desired exposure using the look of the image displayed on the monitor. Since there are restrictions on changing the ISO sensitivity and shutter speed when shooting video, you'll need to fine-tune the exposure with an ND filter, lighting, or the aperture. After determining the right exposure with the look of the image, if you have any concerns, such as blown-out highlights, issues in the shadows, or problems with skin tones, use the exposure control tools to address these issues as necessary.
Also, when shooting outdoors, there are some situations where reflections of the sun make it difficult to see the monitor. In such situations, you can use the zebra pattern settings to help. For example, when shooting portraits, adjust the exposure using the mid-tone zebra pattern as a guide. This makes it easier to maintain skin tones to an appropriate exposure even when it is difficult to see on the monitor.
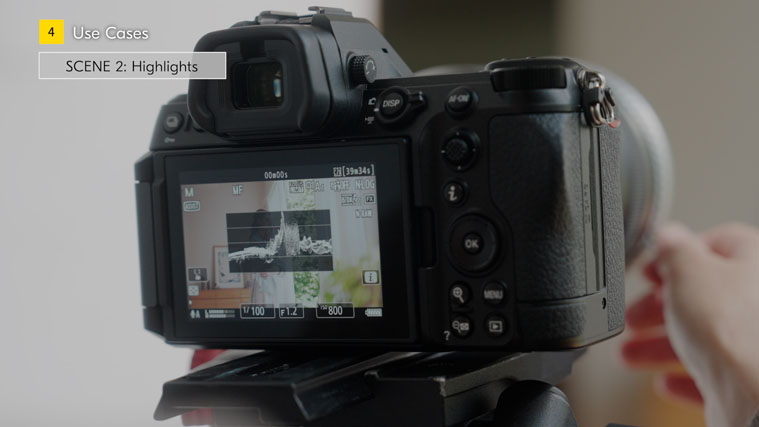
For a shot with a lot of highlights over the image, the wave-form monitor helps you check the overall highlight tone.
With just the zebra pattern display, it's difficult to judge how intense the blown-out highlights are. However, by using the wave-form monitor, you can get a more detailed understanding of the overall image. Check the wave-form monitor and adjust the signal in the area where you want to retain detail so that it is not extremely clipped.
For a shot with a lot of shadows over the image, be careful to avoid blocked shadows.
Detail in the shadows is difficult to check with the wave-form monitor in some cases, so turn off the view assist, and look at the actual N-Log image to see how much detail remains. When you want to raise the ISO sensitivity in dark scenes, set the camera to ISO 6400, the base sensitivity in the high-sensitivity range, which will help reduce noise in the shadow range. So, for example, compared to ISO 5000, ISO 6400 will have less noise.
There are many ways to manage exposure, but we encourage you to use the standard methods described in this article to find the way that best suits your shooting style.