Video Shooting
Video Shooting #2: Hands-On
Supervision and sample footage by Takayuki Yagishita (Videographer)
In this article, we've invited Mr. Yagishita, a professional videographer adept at both stills and video, to explain key video shooting points for photographers looking to acquire video production skills.
Index:
The biggest difference between shooting photos and videos is that a still image is made up of a single frame, while a video consists of multiple shots edited together. As with stills, it is important to frame the subject properly, but it is also important that you record cuts that will be easy to edit into a video.
Cuts are easy to edit when they are longer than they need to be at the beginning and the end.
One mistake that photographers tend to make when shooting videos is to stop recording as soon as they get a good shot. If you do this, you will have no room to make edits at the beginning and the end of the cut. Without any leeway to edit the beginning and end of the cut, you are left with fewer options to adjust the timing between cuts or apply effects to your transitions.
Recording long cuts allows you to make edits freely and increases your editing options. When shooting videos, be mindful of leaving extra room and record longer cuts.
Unlike still images, which capture a moment in time, videos require you to capture motion. So, I recommend that you capture shots that feature a moving subject. But if the subject does not move much, adding motion with the camera is effective.
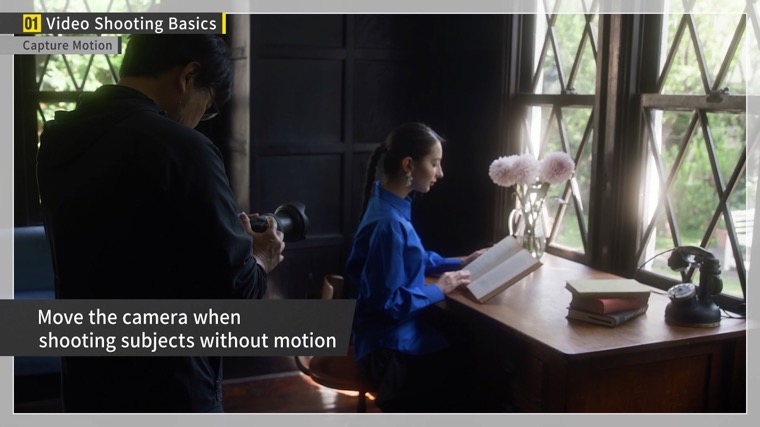
There are many ways to do this. For example, you can slowly move the camera from the subject's hand level up to the head or intentionally start with the subject out of focus and then gradually focus on the subject. When adding movement with the camera, you will also need to leave room. Keep the shot still for at least 5 seconds each at the start and end of the cut before moving.
Another key is to shoot cuts that feature a variety of angles and movement. If the composition and the angle of view never change, you will be left with an uninteresting video. Think of it like putting together a photo book. In addition to capturing the main subject, it is important to include “inserts” that feature the shooting location and props. An “insert” refers to other cuts that are inserted into a video sequence to create natural transitions or convey the passage of time. Having insert footage expands the possibilities of editing.
Sound is just as important as the image. You can improve the quality of your video significantly by recording the sound correctly and clearly.
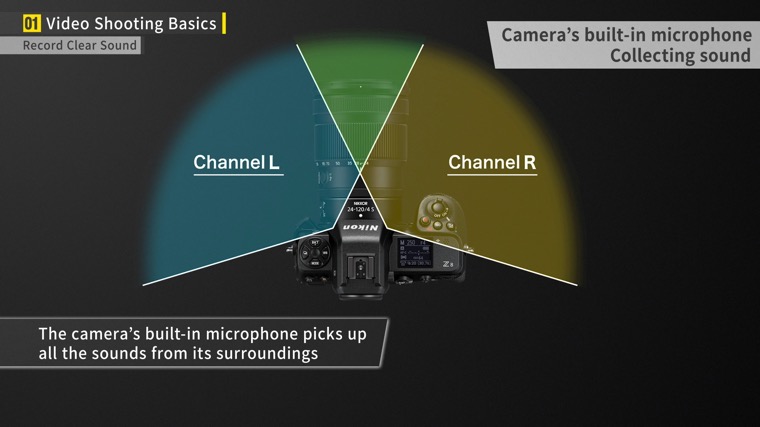
With an SLR-like "bokeh" blur effect producing a three-dimensional space, the audio must also be recorded with spatial awareness. The sound of the main subject should be clear, while sounds from the surrounding environment can be heard faintly. This allows the subject to stand out even more.
The camera's built-in microphone can record sound, but it may pick up sounds of the camera being operated and noise from its surroundings, making it difficult to achieve the desired sound.
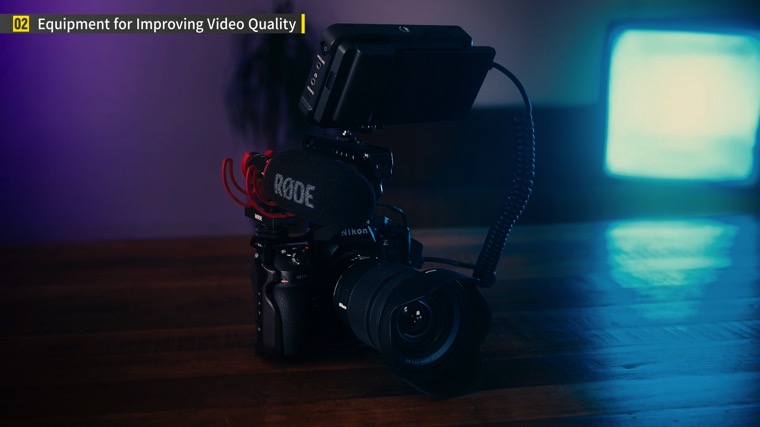
If you need to record audio, we recommend using a shotgun microphone. With a shotgun microphone, you can clearly record the desired sound.
Alternatively, if you want to record a person's voice more clearly, such as when shooting an interview, it’s recommended to use a lavalier.
Finally, I will show you some video equipment that is useful to improve the quality of your videos.
1The first item is the camera cage. Mounting a camera cage will allow you to attach a variety of other equipment.
Second is a lens filter. One of the more common ones is the mist filter, for example, a black mist or a white mist filter. It allows you to easily shoot videos with a cinematic quality.
Third is the video tripod. Unlike photo tripods, which are designed to keep cameras in place, video tripods allow you to move the camera smoothly up, down, left, and right. This enables you to perform smooth camerawork when capturing moving subjects.
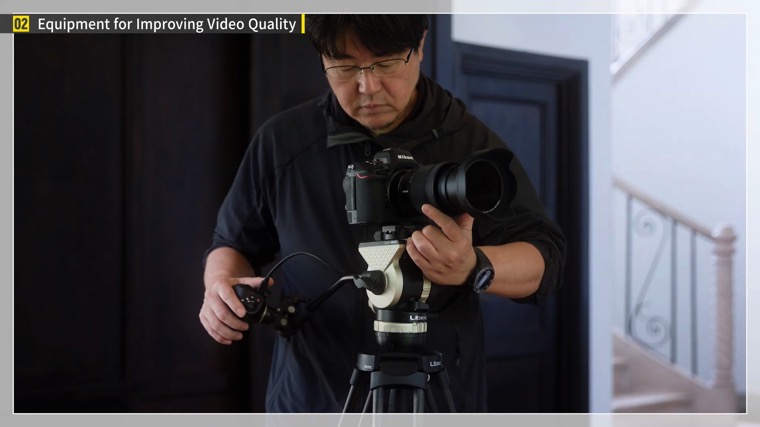
I also recommend a video monopod. Compared to tripods, monopods allow for faster and freer camerawork.
Fourth is the slider. Use it to move the camera horizontally. This will allow you to shoot impressive videos with a sense of depth from front to back.
The last piece of equipment is a gimbal. It can be controlled electronically to reduce camera blur. Use it to capture movement with less blur and perform dynamic camerawork.
In this article, I introduced the basics of video recording using the Z8. I hope you will use what you have learned to shoot more videos and develop your videography skills.