Setup from the Camera Menus
The camera clock can be set manually.
Procedure
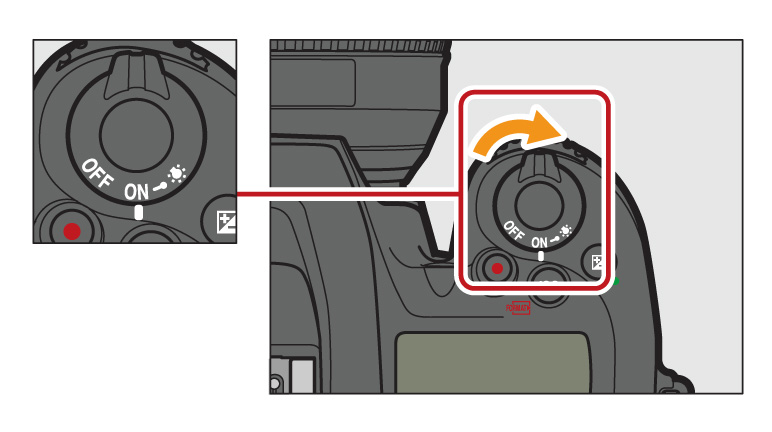
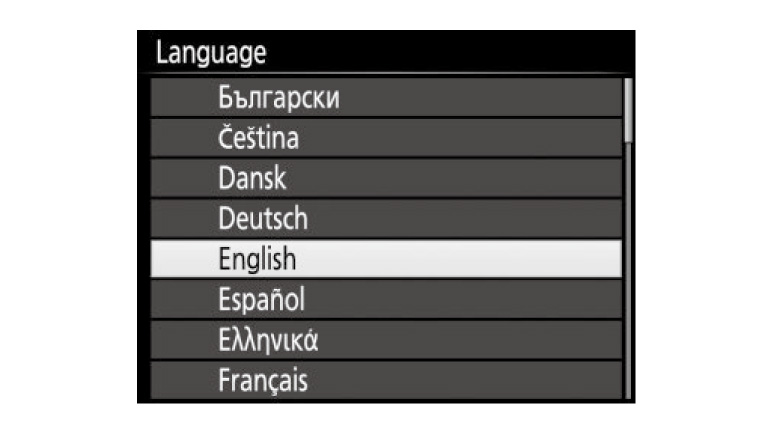
When you first turn the camera on, you will be prompted to choose a language using
the multi selector and  button.
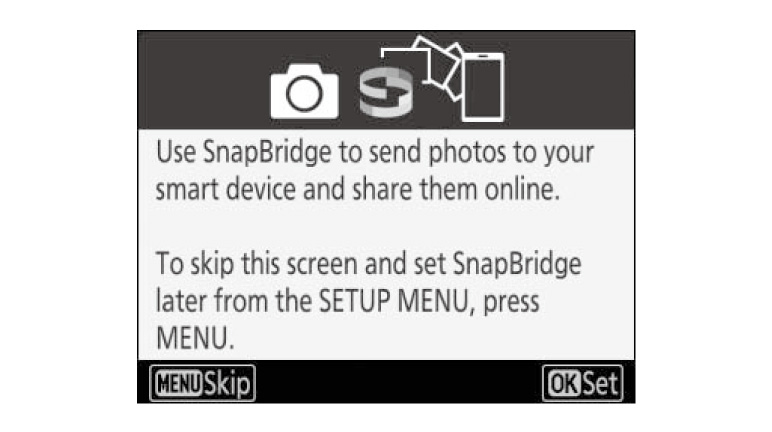
A connection wizard will be displayed.
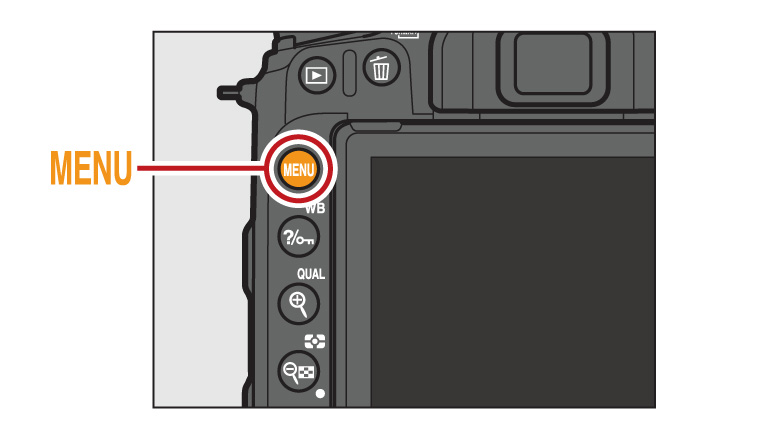
To proceed without using SnapBridge to pair the camera with the smart device, press MENU
and use the multi selector and ![]() button to set the camera clock. No other operations can
be performed until the clock is set.
button to set the camera clock. No other operations can
be performed until the clock is set.
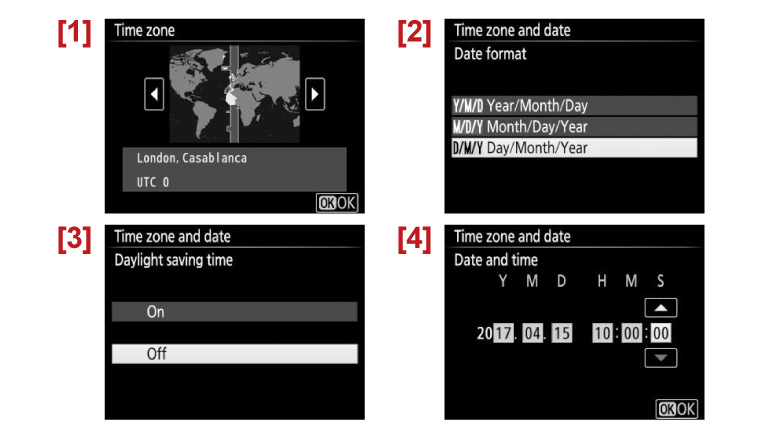
1: Select time zone
2: Select date format
3: Select daylight saving time option
4: Set time and date (note that camera uses a 24-hour clock)
2: Select date format
3: Select daylight saving time option
4: Set time and date (note that camera uses a 24-hour clock)
More D7500 Tips and Tricks

