D500
Mastering Picture Controls: Part 2
“Picture Controls” are image enhancement settings that allow quick changes
to the look of photographs. The camera comes equipped with seven Picture Controls:
Standard, Neutral, Vivid, Monochrome,
Portrait, Landscape, and Flat.
This section will examine the Monochrome, Landscape,
Neutral, and Flat Picture Controls.
Monochrome
The Monochrome Picture Control is suited to high-contrast scenes,
and can be used to create memorable monochrome photographs where the frame contains
both bright areas bathed in light and dark areas in deep shadow, like those in the
back-lit scene shown in the sample images.

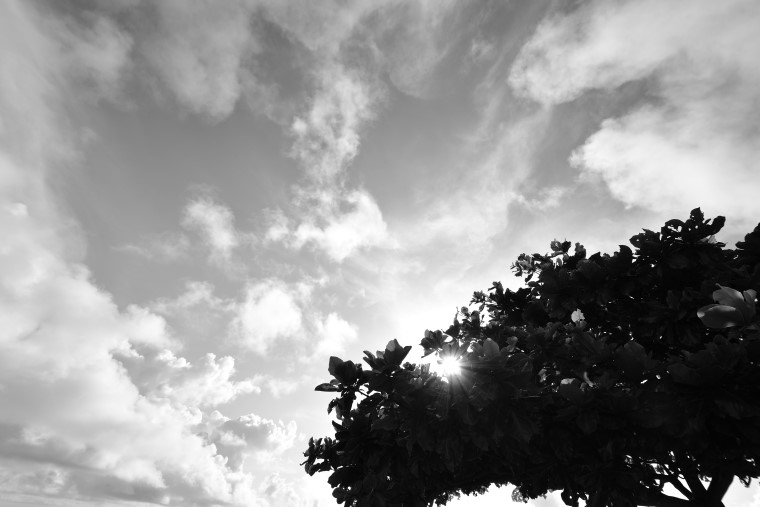

Lowering exposure compensation to further darken dark areas of the image and bring
out blacks, and lowering Active D-Lighting to increase contrast (which higher settings
would otherwise tend to decrease), create a monochrome image with sharply contrasting
light and shade.
For crisper, more stylish images, you may, depending on
the subject, want to make the image sharper and more distinct overall by raising Clarity,
increase contrast by hiking the Contrast parameter, and reduce overall
brightness by lowering the Brightness parameter.
Even
without these adjustments, adjustments to exposure compensation, Active D-Lighting,
and Clarity are by themselves enough to make images noticeably punchier. If in contrast
your goal is a softer, fuzzier monochrome photo, this can be achieved by performing
these three modifications in reverse, increasing exposure compensation and Active
D-Lighting and reducing Clarity.
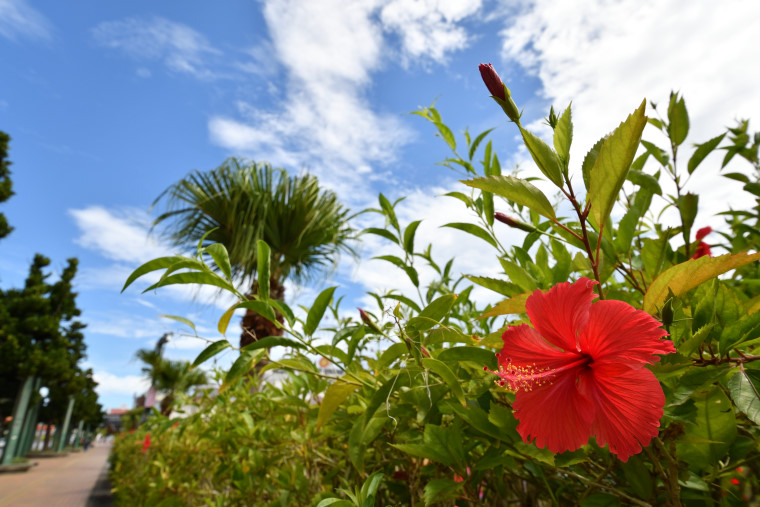
Landscape
The Landscape
Picture Control, as the name suggests, vividly renders the blue of the sky and the
green or red of flowering plants. Even if your subject is not a natural landscape,
this setting is recommended where you want results slightly sharper and more vivid
than Standard while avoiding the garishness of Vivid.


Although switching from Standard to Landscape is enough to make the image more vivid
overall, it also deepens colors and makes the overall image slightly darker, but the
original brightness can be restored by increasing exposure compensation. Raising Clarity
brings out the texture of trees and other rough objects, making them seem more real,
while simultaneously making the overall image more dynamic, crisper, and more distinct
and increasing the sense of depth.
Neutral
The Neutral Picture Control softens images while preserving
details in highlights and shadows. Contrast and sharpness are softened for results
that, while tamer than those produced by Standard, are correspondingly softer, mellower,
and more dreamlike.
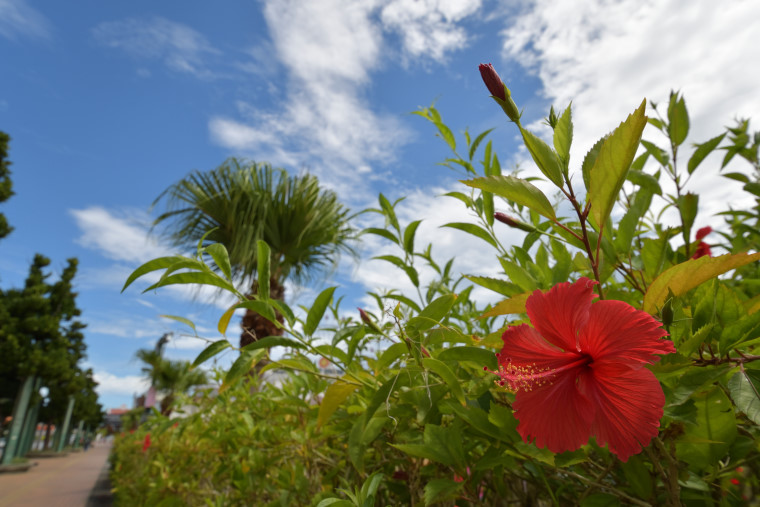
You can make additional changes to Picture Controls to further enhance the dreamlike
quality of the image. In the sample image, exposure compensation is raised for a more
ethereal effect, Active D-Lighting is increased to lower contrast, Clarity
is reduced to soften outlines overall, and Saturation and Hue
are reduced to lower the intensity of the strong reds and greens.
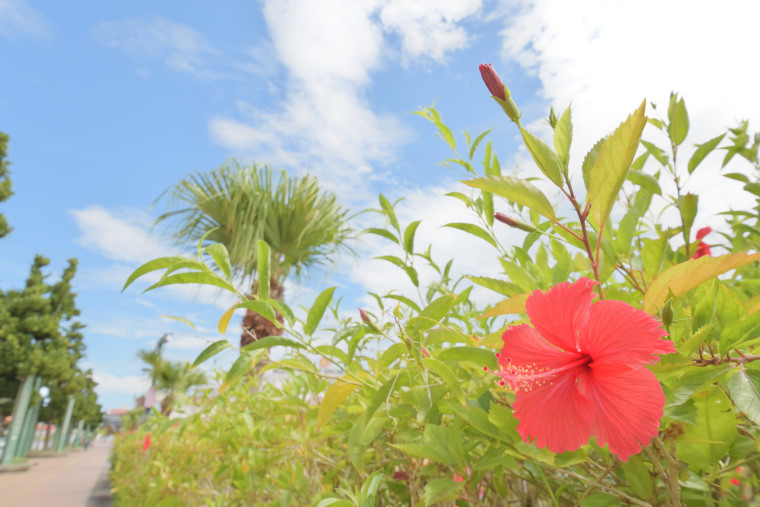
Flat
The Flat
Picture Control records the overall subject image data with few changes to color or
brightness. Highlights and shadows remain data rich, making this Picture Control the
one recommended when taking photos destined for post-processing.

The image is recorded “as is”, and while the results are even tamer than those produced by Neutral, the lack of enhancement makes it less likely that details in highlights and shadows will be lost in post-processing, allowing the image to be processed to strongly reflect the photographer’s intent.