D500
Photographing Live Performances (Auto ISO Sensitivity Control)
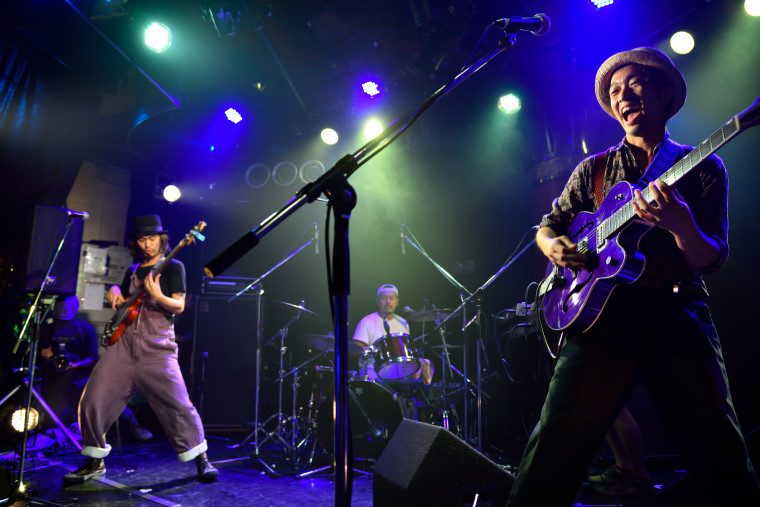
It’s hard to choose the right aperture and shutter speed when photographing moving subjects in concert halls and live venues, where the lighting keeps changing a few lamps at a time. Even the best-timed shots may be blurred or wildly under- or over-exposed if aperture, shutter speed, and sensitivity are not perfectly adjusted.
The basic rule for photographing moving subjects is to select shutter-priority auto
or manual exposure mode and choose the shutter speed in advance. Choose values between
1/125 and 1/500 s according to lighting and subject movement. Sample Images 1 and
2 were taken in manual exposure mode at a shutter speed of 1/160 s and an aperture
of f/4.
If you’re shooting in live venues where the lighting changes
with dizzying speed, you’ll also want to enable auto ISO sensitivity control,
which adjusts sensitivity automatically (for example by raising ISO sensitivity when
the subject is poorly lit) if optimal exposure can not be achieved at current settings.
Auto ISO sensitivity control can be extremely helpful, but you may want to
choose an upper limit in advance to control the noise that can occur at high ISO sensitivities.
Take test shots with ISO sensitivity set to different values to determine the maximum
acceptable limit. The photos here were taken with maximum ISO sensitivity set to ISO
12800.
By enabling auto ISO sensitivity control in manual exposure mode,
you are in effect employing a form of auto exposure control in which you choose the
aperture and shutter speed while the camera varies ISO sensitivity in response to
lighting conditions. This lets the photographer concentrate on timing and composition
without worrying about exposure, even in environments in which the lighting is constantly
changing.
We suggest that you shoot in NEF (RAW) format. When processing
NEF (RAW) images, you can raise or lower exposure by about 1 EV without affecting
image quality. You can also switch between monochrome and color Picture Controls after
shooting. When processing NEF (RAW) images of live events, you can choose a crop and
adjust exposure compensation, white balance, contrast, and highlights and shadows.
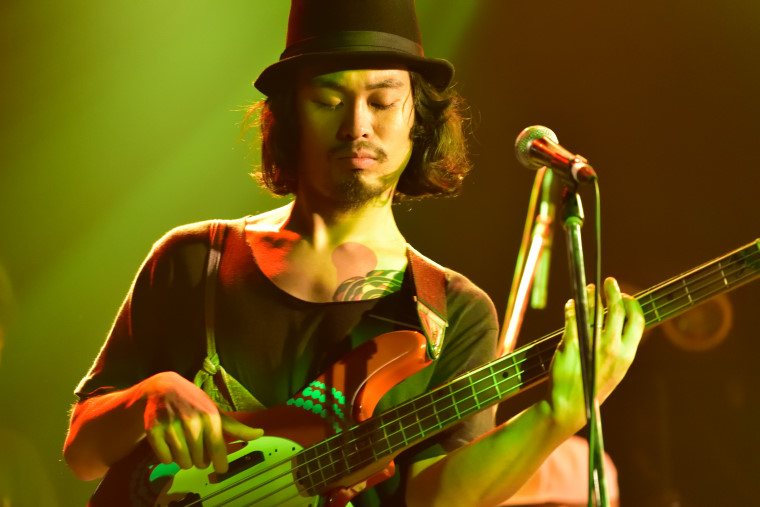
Keeping shots in focus is a challenge at live events, where your subjects are always
in motion, but the basics are the same as for other forms of portrait photography:
try to focus on whichever eye of the subject is closest to you. The best shots may
be those that are out of focus or blurred, so take lots of photos and try to concentrate
on timing.
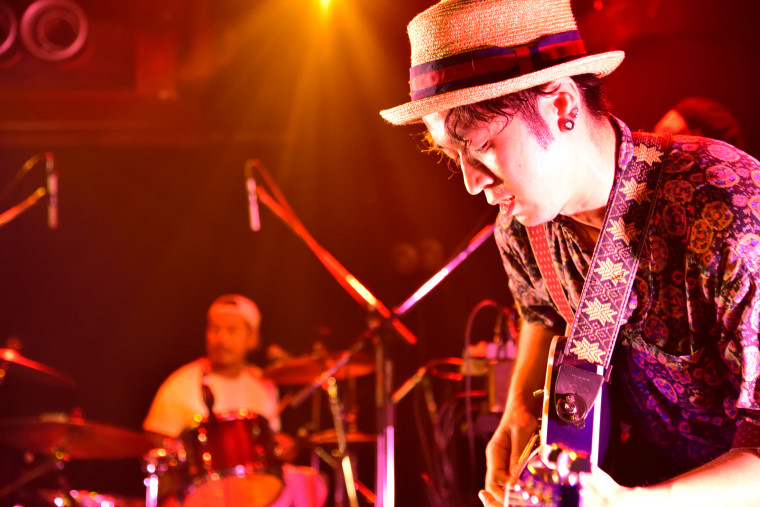
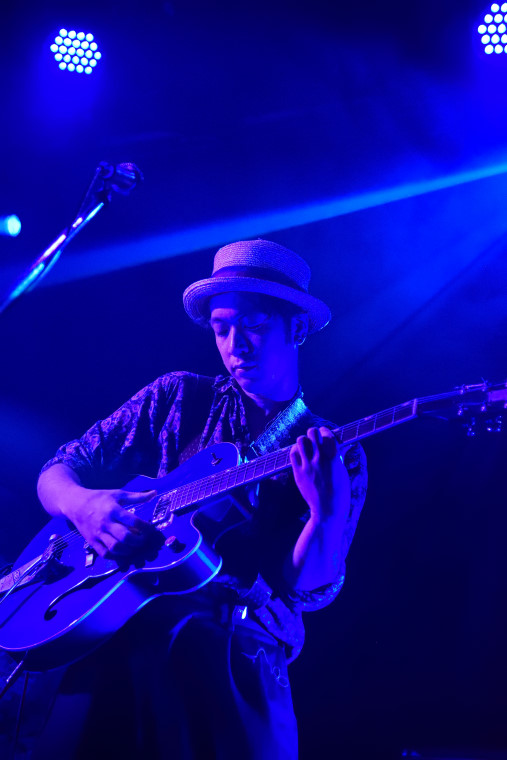
You can also think about the stage lighting, paying attention
to whether it is in or out of the frame and how the different colors and types of
lights (spotlights, mirror balls, etc.) can be used to best effect. You can also try
shooting in portrait orientation or at oblique angles for dramatic photos that really
communicate the feeling of a live performance.
If you can move freely about
the venue, photograph your subject from a variety of angles: from in front of the
stage barrier, from the wings, from the seats, from the back of the hall, from the
second floor, or wherever takes your fancy. You’ll need to plan your shoot by
going the rehearsals and checking out everything from stage directions through lighting
to where the band members stand on stage.
Lastly, here are some does and
don’ts for photographing live performances. DO keep out of the audience’s
way. Download a plan of the venue and plan where and when you’ll take photographs.
DO NOT draw attention to yourself: dress in black or dark blue and be sure to use
the quiet release feature during quiet segments, such as recitations and soft songs.Many
live venues prohibit flash photography, but others allow it depending on the type
of event, so check in advance as necessary.
Many a photographers first
introduction to live events comes in the form of a request from an acquaintance in
a band. Once the concert is over, cull and process your photos and give copies to
the band for promotion and other purposes. Skillful use of social media may also lead
to further opportunities. You should work not only to improve your photographic technique
but to expand your circle of contacts, proactively keeping in touch with band and
crew members and gradually making a name for yourself as a photographer of live performances.
Suggested Lenses:
FX-Format Cameras (1)
- AF-S NIKKOR 14–24mm
f/2.8G ED
- AF-S NIKKOR 24–70mm f/2.8E ED VR
- AF-S NIKKOR 70-200mm
f/2.8G ED VR II
FX-Format Cameras (2)
- AF-S NIKKOR 16–35mm
f/4G ED VR
- AF-S NIKKOR 24–120mm f/4G ED VR
- AF-S NIKKOR 70–200mm
f/4G ED VR
DX-Format Cameras
- AF-S DX NIKKOR 10–24mm f/3.5–4.5G
ED
- AF-S DX NIKKOR 16–80mm f/2.8–4E ED VR
- AF-S NIKKOR 70–200mm
f/4G ED VR
Note: When photographing live performances be sure to
get the permission not only of your subjects but of the venue.